Vendors Page
The Dynamic Vendors Template page that you will find in your Webflow project, should show up a list of all the products made up by that vendor. Naturally you can add more custom fields to the Vendor CMS collection in order to further style up this page according to your needs.
Products filtered by Vendor
To show up products of the current vendor, you have just to use native webflow tools, no code is required!
-
Add a new Collection List element to the canvas and connect it to the Products Collection.

-
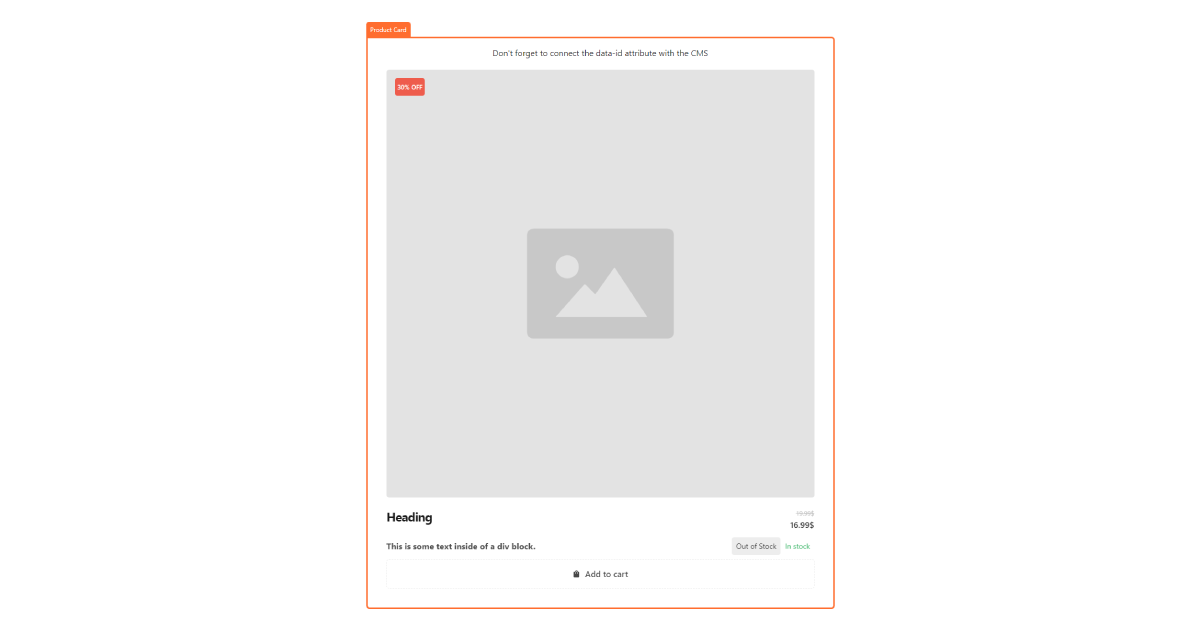
Copy & paste the following element into the Collection Item. (Is just a simple card example)
Product Card
Copy Webflow element
-
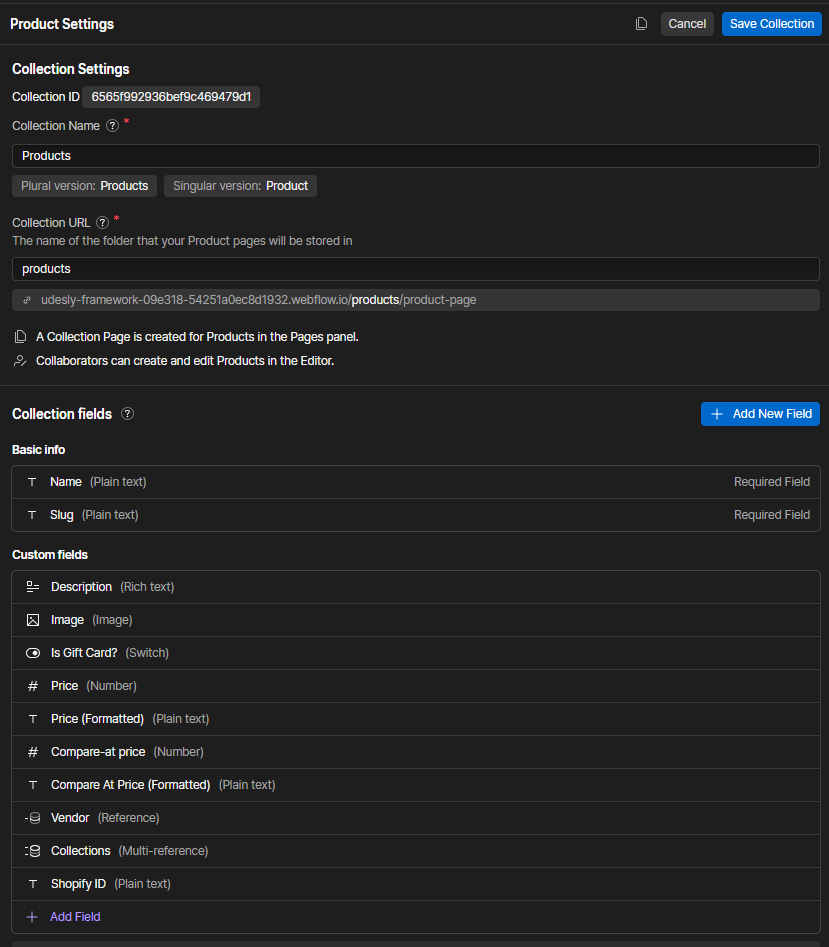
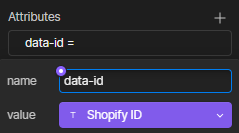
Select the Smootify Product DOM Element and go to Settings> Attributes and you will find a data ID. You need to associate this data ID to the Shopify ID CMS field created in the Webflow Products Collection. This action will automatically add your Shopify store ID to Webflow.

-
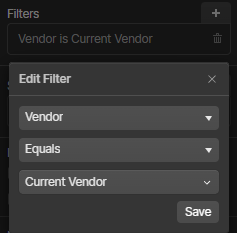
Select the Collection List Wrapper and add the Filter: “Vendor Equals Current Vendor”
-
Before focusing on the design, connect each element of the product card to the Products CMS Fields. In detail for our pre-built card you’ve to connect with the Webflow CMS fields:
- Product Title
- Vendor
- Price
- Compare at price
- Description
- Image