Smootify Configuration
To connect Shopify to Webflow you need to create a Smootify account
-
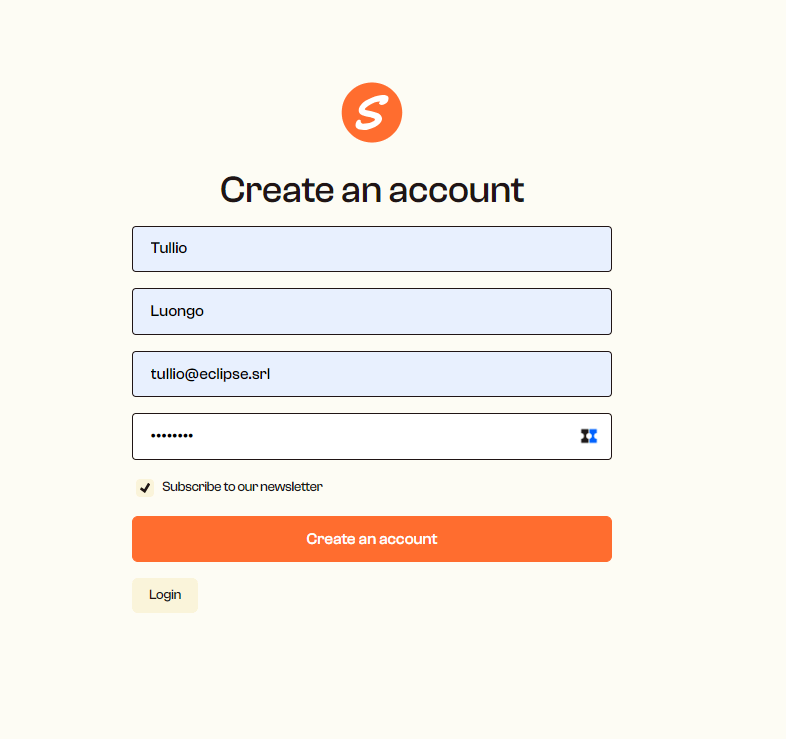
Sign up with your credentials to the Smootify dashboard
-
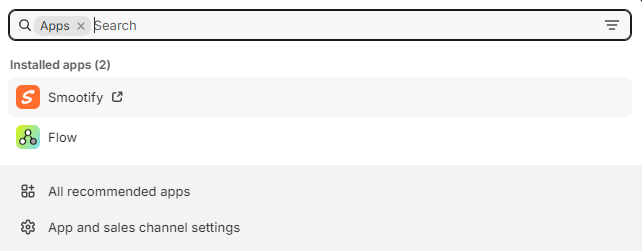
The first step is to install the Smootify app on your Shopify store.
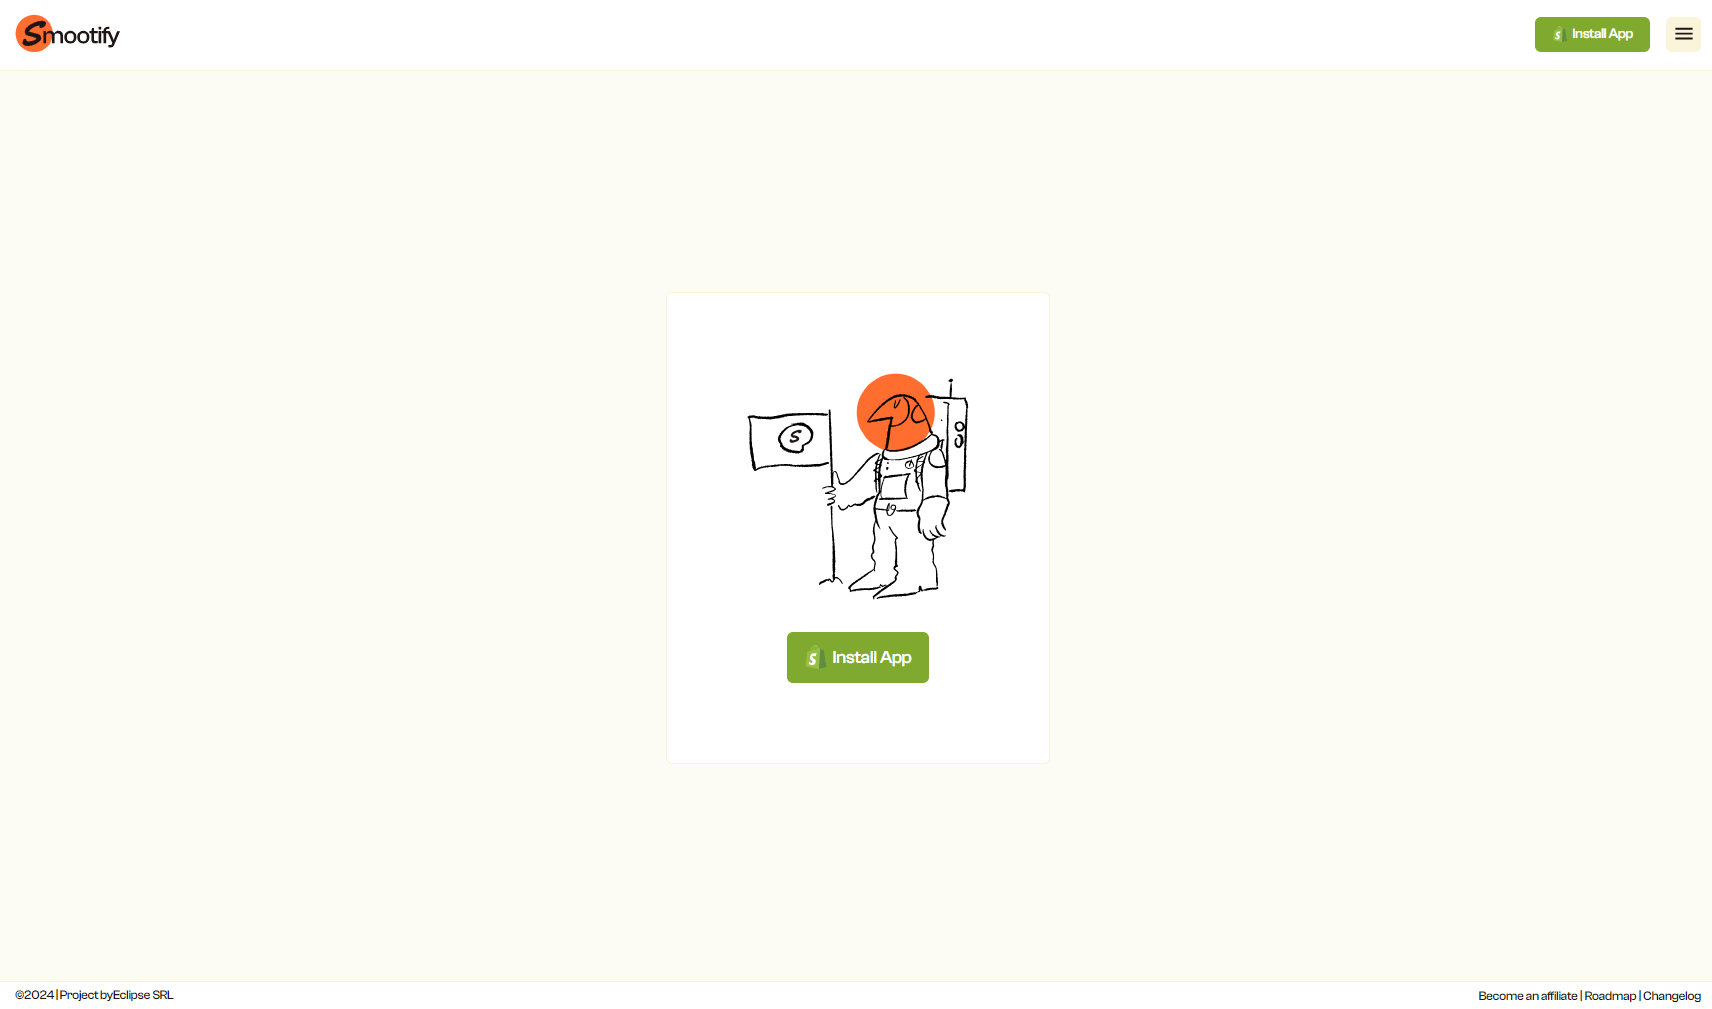
Click on the Install button and select the Shopify store where you want to install the Smootify App
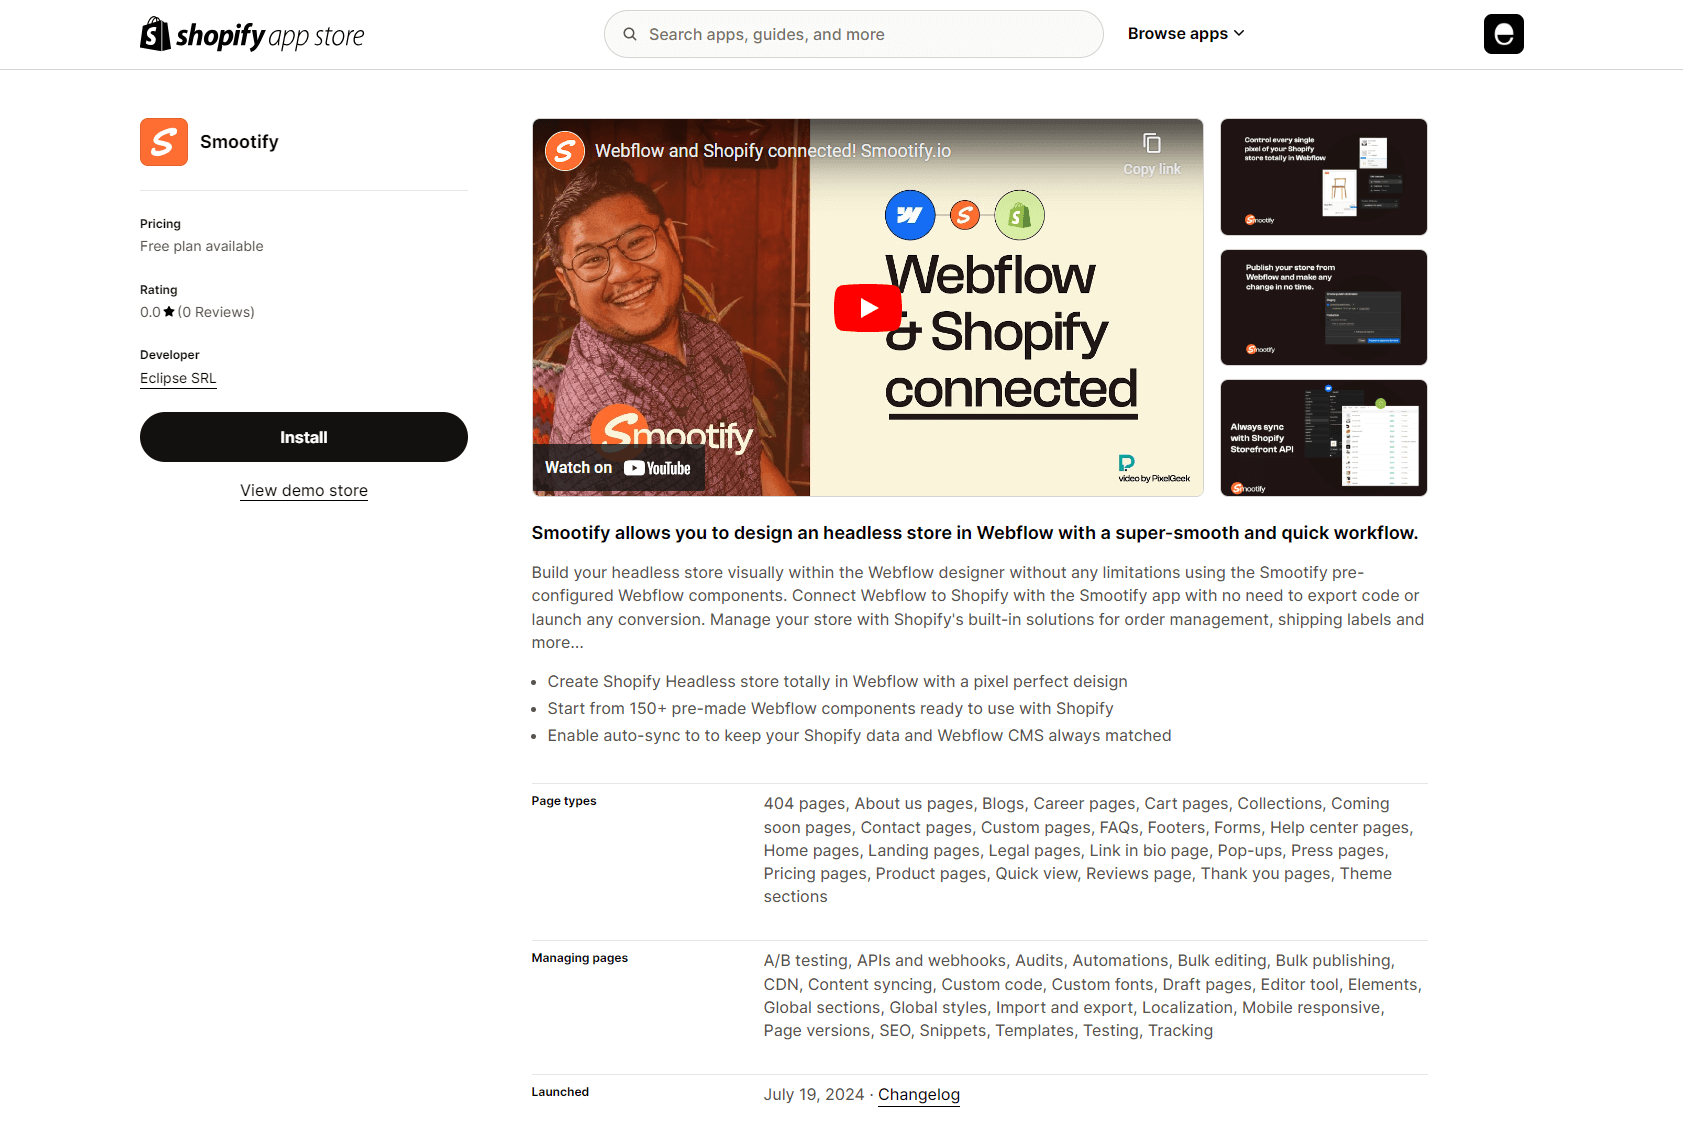
Once installed, launch the Smootify app from your Shopify admin panel.
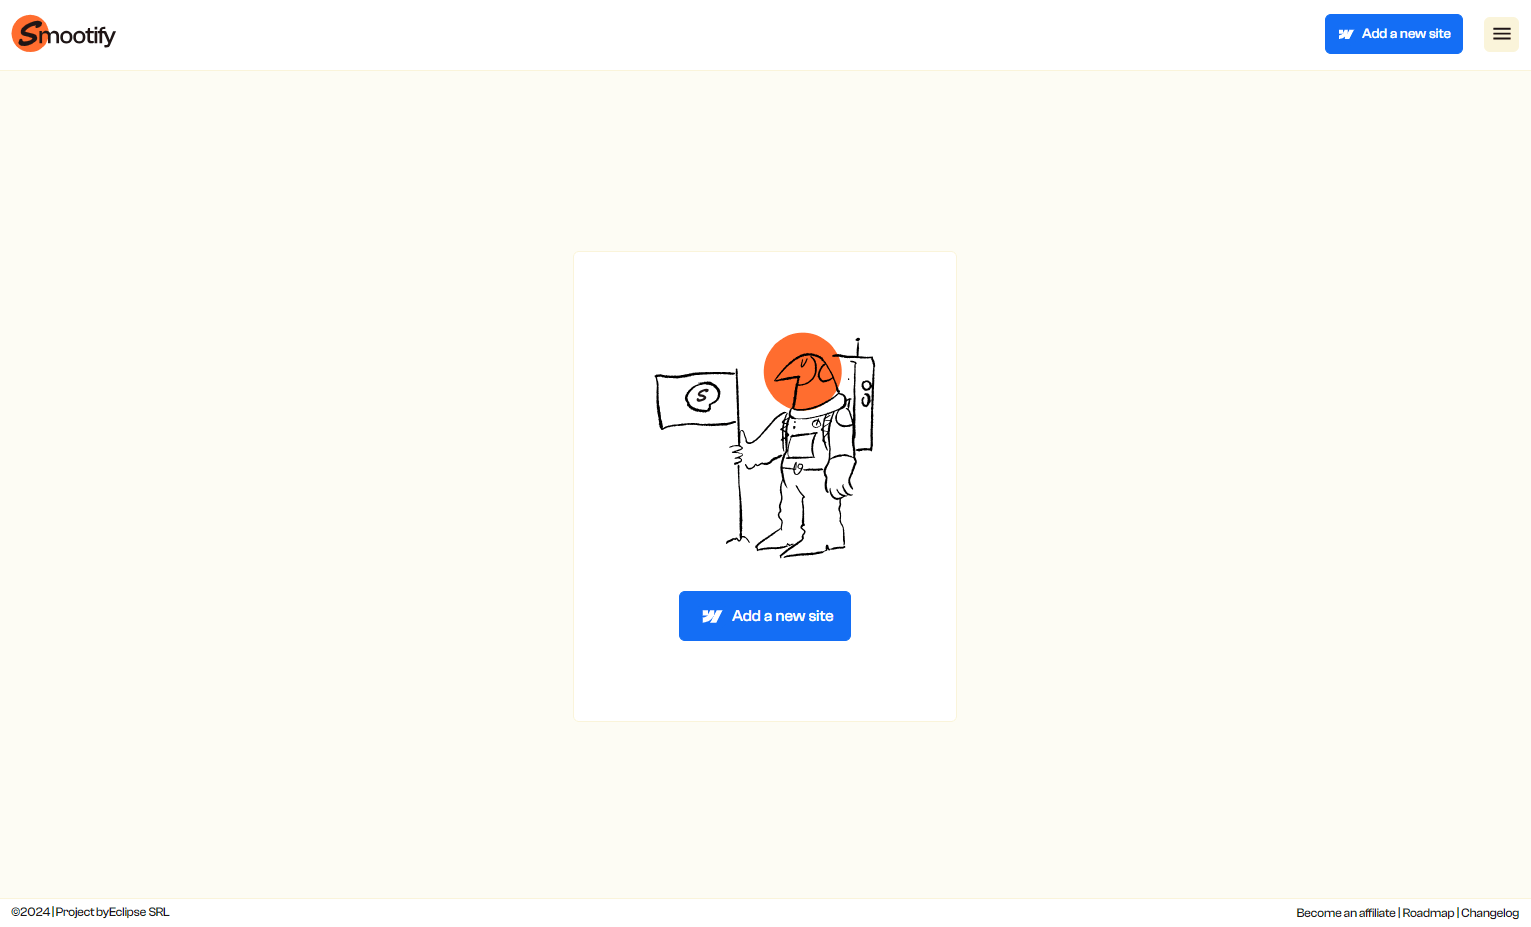
- You’ll be redirected to Smootify. Here, click the Add a new site button and connect the Webflow project you want to use with Shopify.
-
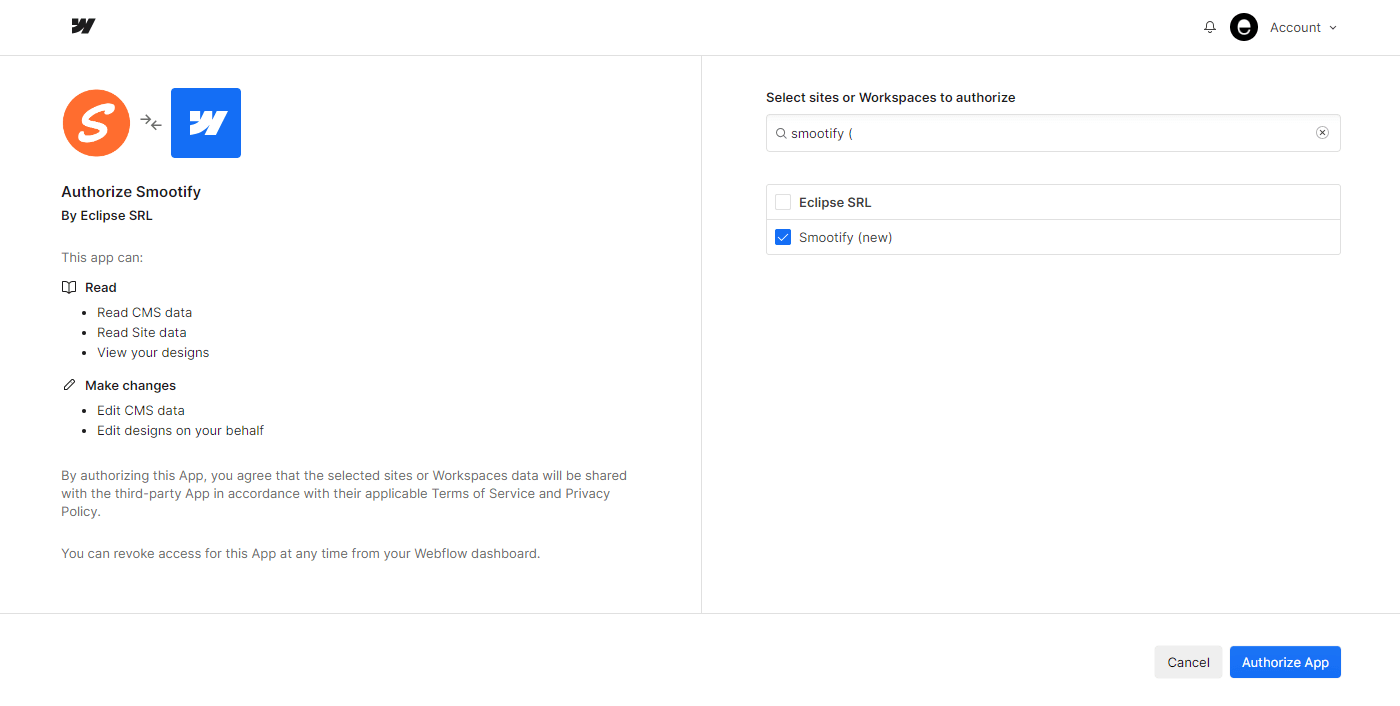
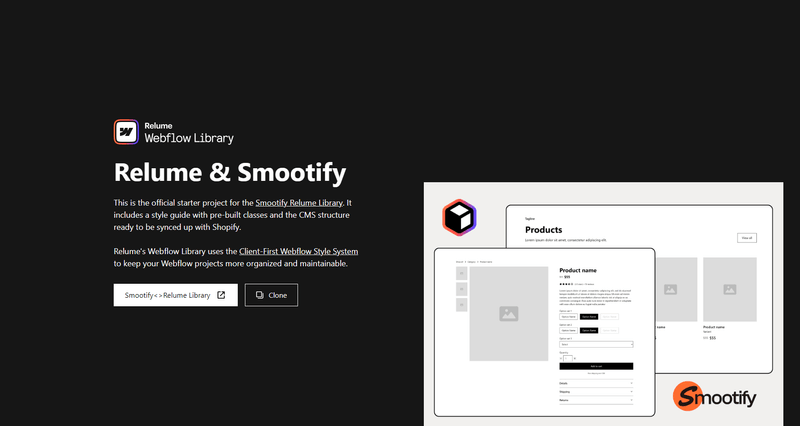
You will get the Webflow Authoritazion pop-up to connect the Smootify App to your Webflow Project. Select it from the list of your projects and click on the “Authorize App” button in the bottom right corner to grant the Smootify Webflow app permission to establish the connection. We suggest starting from our Starter Project. This is the official starter project for the Smootify Relume Library (but you can use without using the library). It includes a style guide with pre-built classes and the CMS structure ready to be synced up with Shopify. This project uses the Client-First Webflow Style System to keep your Webflow projects more organized and maintainable.
-
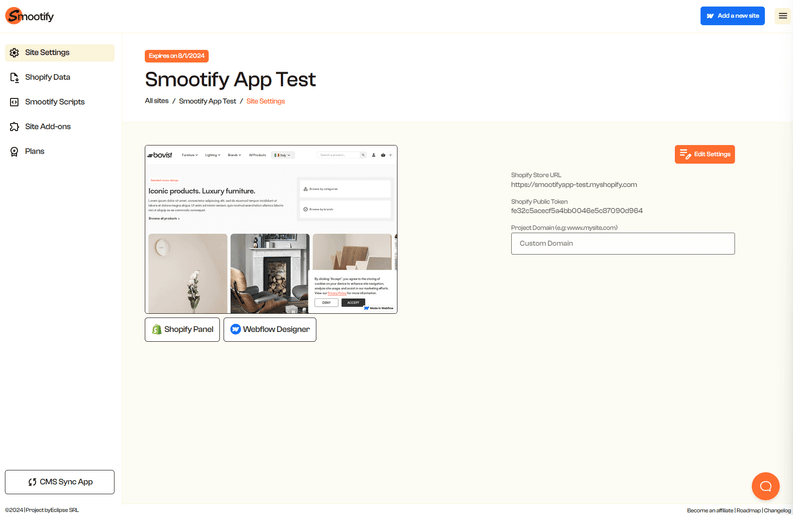
Once complete, you will be redirected to the Site Settings panel. Here, you’ll find the Shopify Store URL and Public Token already populated. You only need to add your project domain. You can use your staging domain (webflow.io) initially and then replace it with your custom domain when ready.
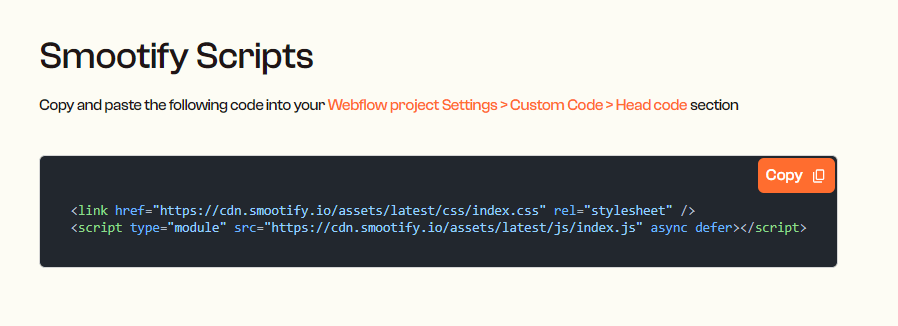
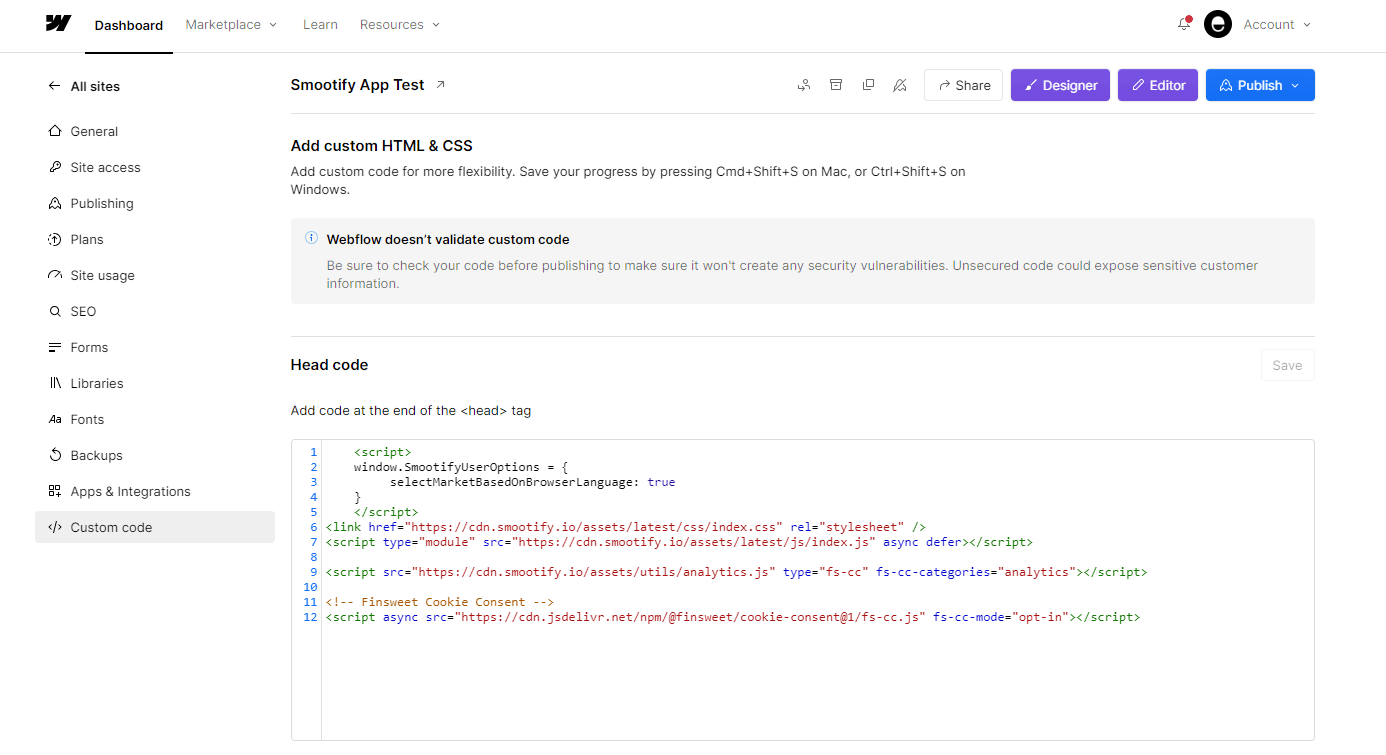
- Navigate to the Smootify Scripts panel and copy and paste our provided script into the Webflow project settings > Custom Code > Head code section.
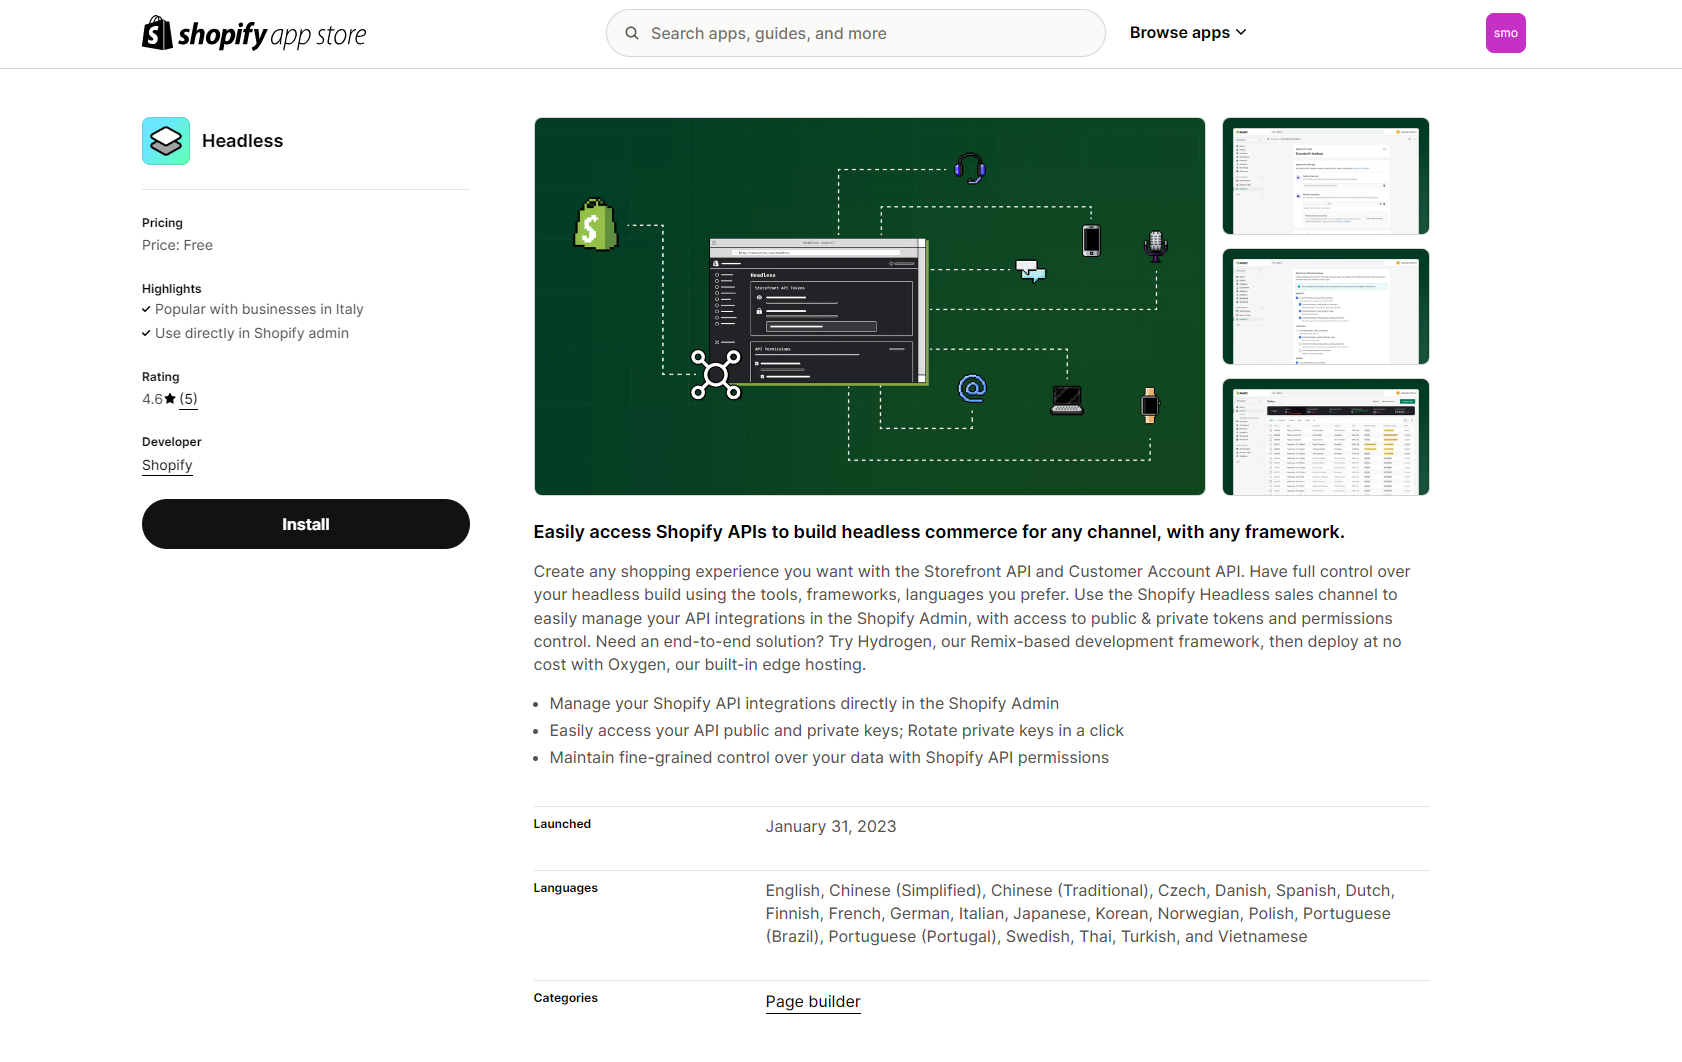
- Don’t forget to install the Shopify Headless App on the same store to enable customer accounts and other functionalities.