Template Page
How to design your product template page in Webflow
This document outlines the steps and best practices for creating your product template page in Webflow using Smootify.
Learn how to fetch product data from your Shopify store and display it in visually inside your Product Template Page
How to create a Product Page
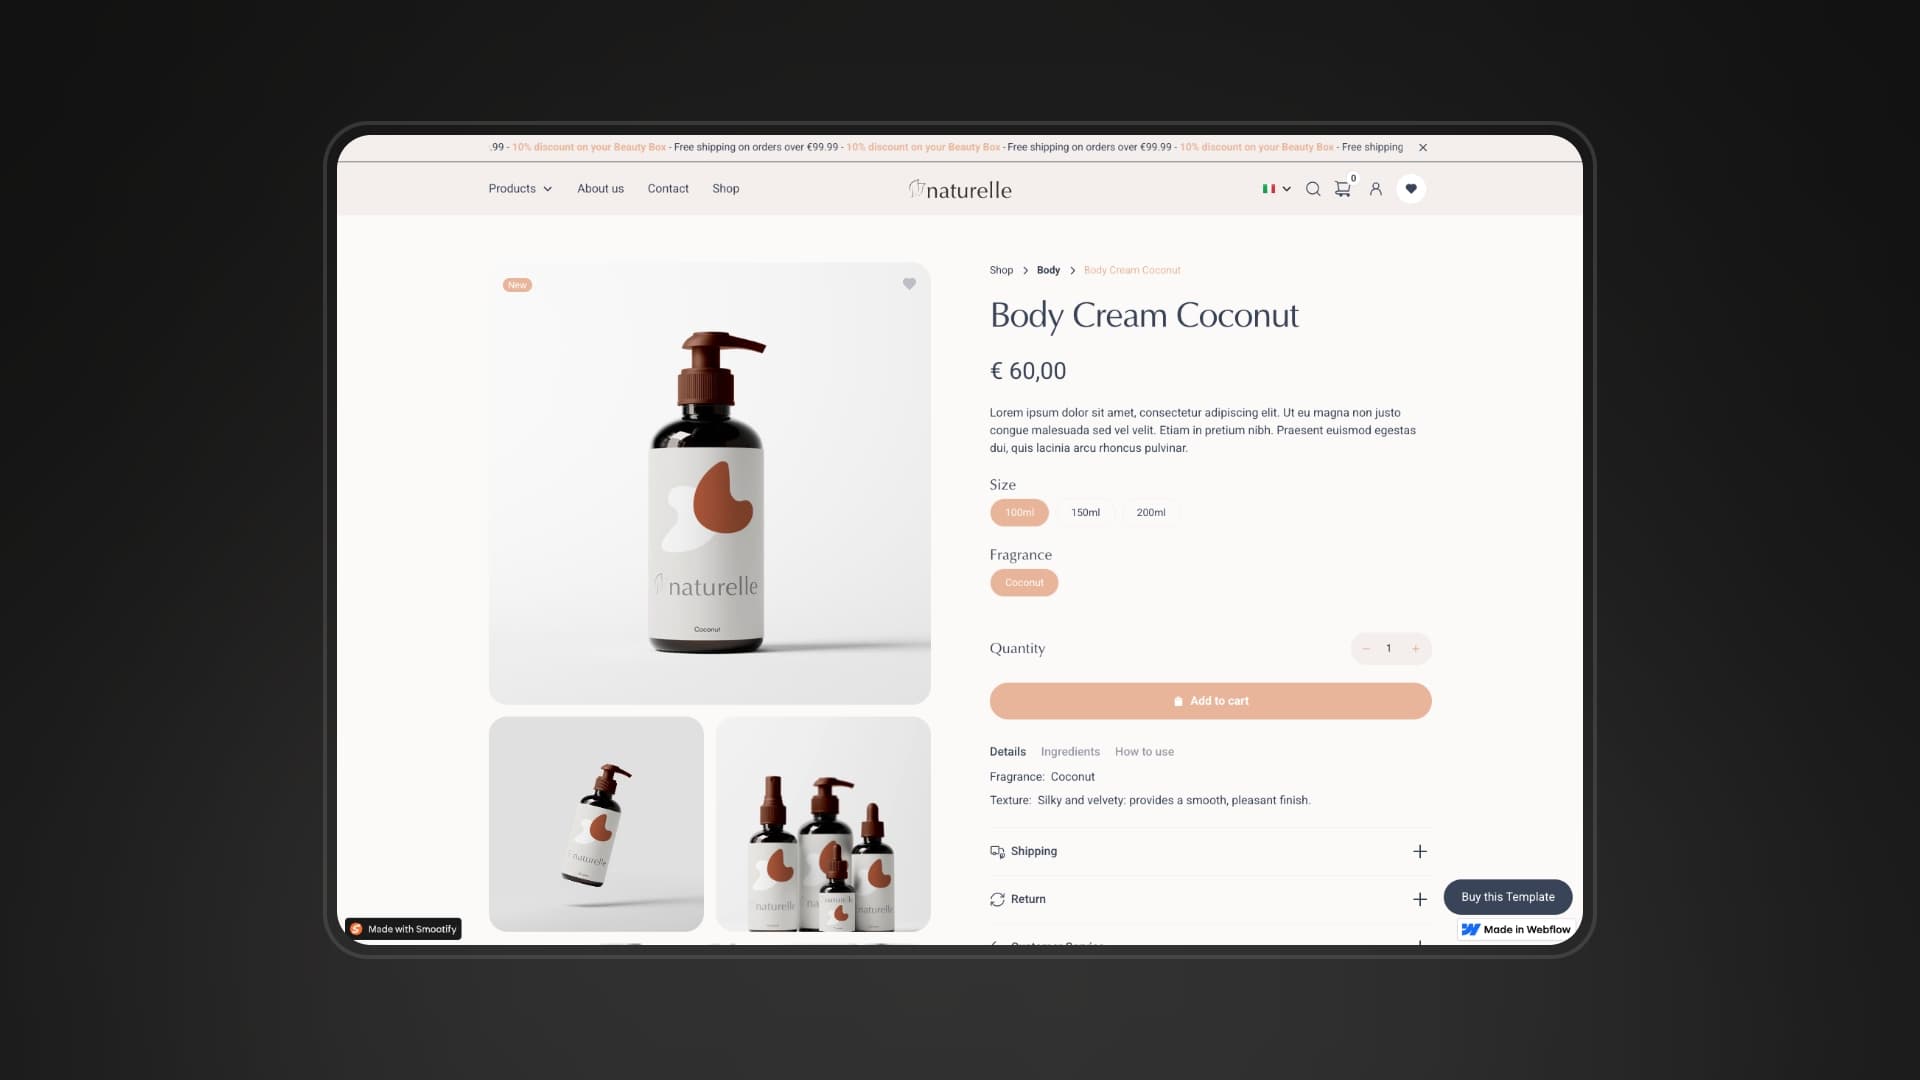
Design the Product Page
Copy and paste the Product Custom Element inside the Product Template Page
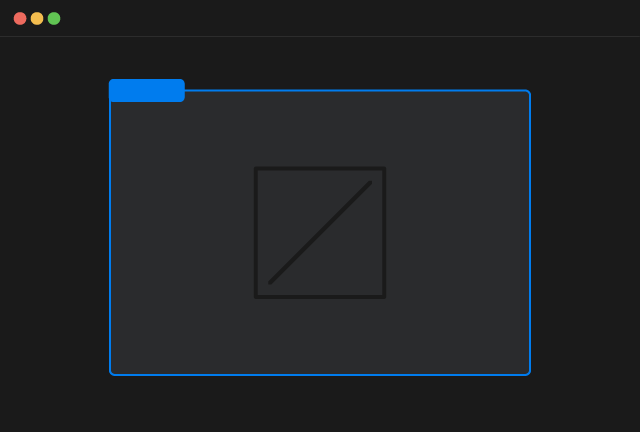
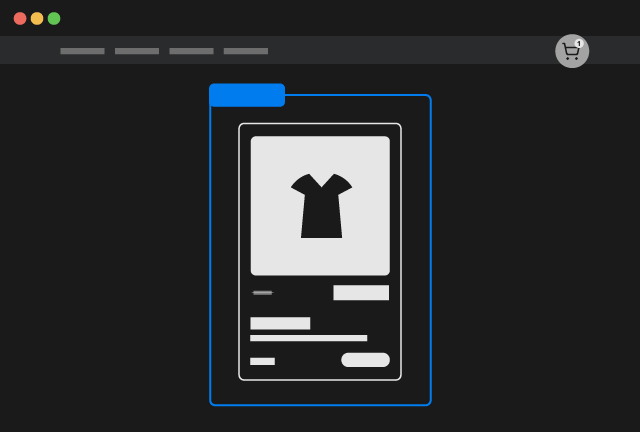
Product Custom Element
Copy Element
Inside the Product Custom Element you can insert any Webflow element you desire and you connect them to the Webflow CMS.
For all the dynamic elements you can use inside the Product Custom Element with attributes or with other specific custom elements refer to the elements documentation
Copy and paste any of our pre-made example inside the Product Template Page
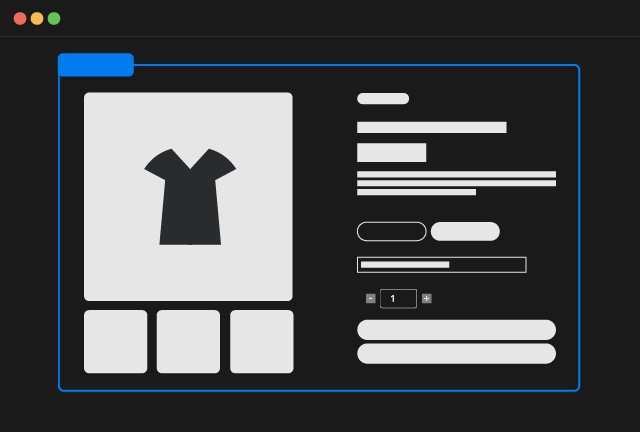
Product Page
Copy Element
Naturally you can insert any Webflow element you desire inside the pre-made examples.
For all the dynamic elements you can use inside the Product Custom Element with attributes or with other specific custom elements refer to the elements documentation
Connect the Product Custom Element to the Shopify ID
Connect the Product Custom Element to the Shopify ID field of the Webflow CMS
Upsell Products
Specific project requirements might necessitate loading products directly from Shopify, rather than using Webflow's collection list feature. For example when you need to show product upsells, like recommended and complementary products.
Key Concepts:
- Product Template:
- You design a single 'Product Template', and Smootify, leveraging the Shopify Storefront API, automatically replicates that template for each product returned by your query.
- Dynamic data from the collection's fields is then populated into each Product Template.
- Dynamic Data Binding:
- Custom attributes and Custom Elements within the 'Product Template' dictate where dynamic Shopify data will be injected into the static elements by Smootify.
How to create an upsell Product Listing
Add a Flex or Grid element
Design your flex/grid by keeping in mind that the replication of your product items will only occur on the live website, where your placeholder will be transformed into the full product listing.
Design the Product Template item
Copy and paste the Product Custom Element inside the flex/grid element you created.
Product Custom Element
Copy Element
Inside the Product Custom Element you can insert any static Webflow element.
For all the dynamic elements you can use inside the Product Custom Element with attributes or with other specific custom elements refer to the elements documentation
Copy and paste any of our pre-made example inside the flex/grid element you created.
Product Card
Copy Element
Naturally you can insert any Webflow element you desire inside the pre-made examples.
For all the dynamic elements you can use inside the Product Custom Element with attributes or with other specific custom elements refer to the elements documentation
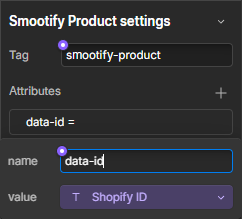
Add the data-id attribute
To retrieve the correct data from Shopify, add the necessary data-id attribute.
The required value depends on your query. Refer to the list below for all possible data-id options.
Complementary products are used to enhance the customer's shopping experience by suggesting items that pair well with the product they're currently viewing. Unlike "related products," which often rely on algorithms, "complementary products" emphasize manual curation. In Shopify the selection is made through the Search & Discovery App
To show up complementary products you have to add the attribute below to the Product Custom Element
data-idcomplementaryIf you need to curate unique upsell product lists, separate from Shopify's automatic related and complementary product suggestions, metafields provide a method for manual selection and assignment.
Shopify metafields are essentially custom data fields that allow you to store additional information within your Shopify store that isn't included in the standard Shopify fields. Metafields can be defined inside Shopify > Settings > Custom Data. To use this feature you have to create a metafield of type Product that allows to select a List of Products.
A metafield is defined by a namespace and a key, that you find directly in Shopify when you create the metafield.
To show up products selected from a metafield you have to add the attribute below to the Product Custom Element
data-idmetafields.namespace.keyFor example if you created the metafield with namespace custom and key my_products you have to add the attribute
data-idmetafields.custom.my_productsAdd the data-parent-id attribute
To retrieve the correct data from Shopify, add the mandatory data-parent-id attribute. The attribute must be connected to the Shopify ID Webflow CMS field and just indicates that you want to load for example related products from the parent product selected by that ID
data-parent-idShopify ID[Optional] Limit the number of products
By default the dynamic queries explained before will fetch 3 products. You can override this limit by adding another custom attribute to the Product Custom Element
limitNumber of ProductsE.g to fetch 10 products you can add:
limit10