Listing
How to design your listings in Webflow
This document outlines the steps and best practices for creating product listings in Webflow using Smootify.
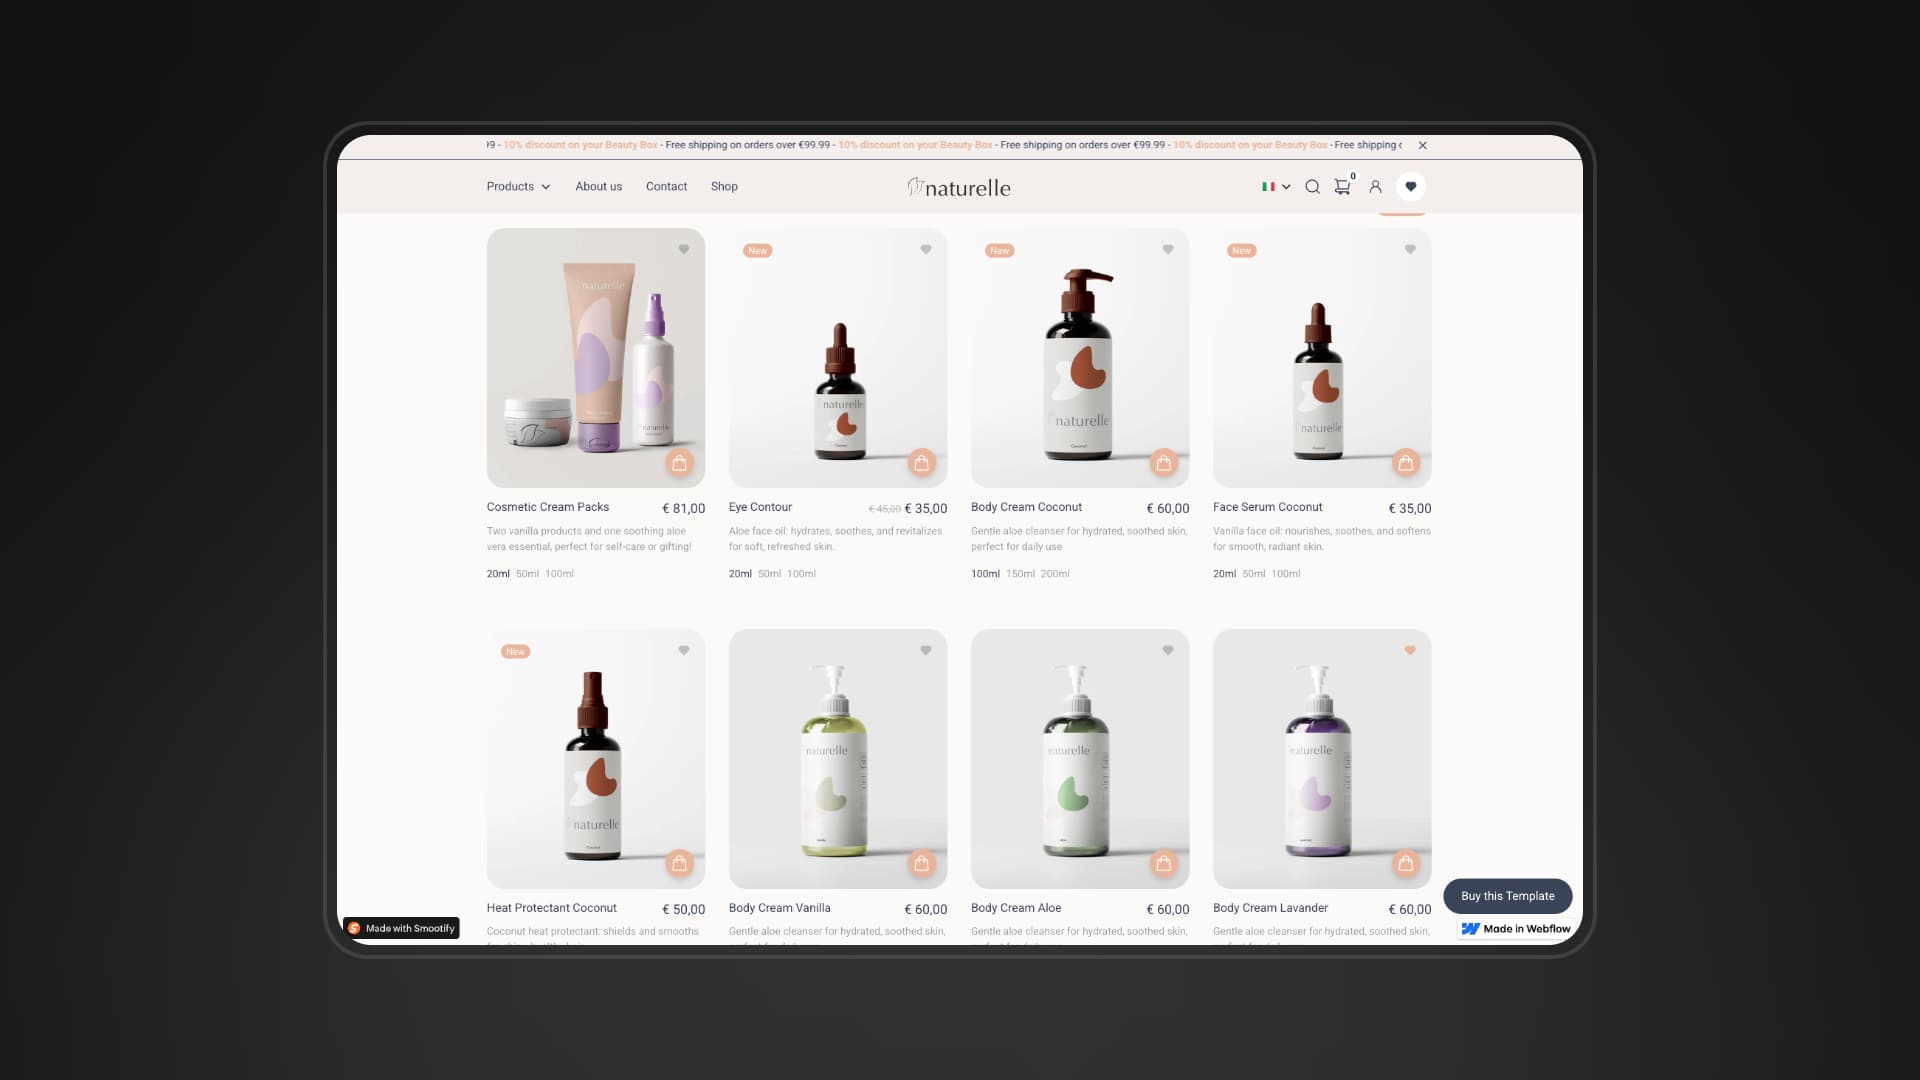
Learn how to fetch product data from your Shopify store and display it in visually appealing grids and lists on your Webflow site.
You can create product listings using two different methods:
- Webflow Collection Lists
- Specific data-id attributes
Webflow Collection Lists
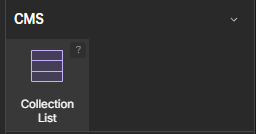
Webflow Collection Lists are a core feature within the Webflow Designer that allows you to dynamically display content based on a structured dataset. Think of them as templates for repeating elements.
Key Concepts:
- Collections:
- A collection is a database-like structure within Webflow that stores structured data.
- Each collection contains fields (e.g., "Product Name," "Image," "Price") that define the type of data it holds.
- Collection Lists:
- A Collection List is a Webflow element that displays the items within a collection.
- You design a single "template item" within the Collection List, and Webflow automatically replicates that template for each item in the collection.
- Dynamic data from the collection's fields is then populated into each template item.
- Dynamic Data Binding:
- Within a Collection List item, you can bind elements (text, images, links) to the fields of your collection.
- This means the content of those elements will change dynamically based on the data in each collection item.
How to create a Product Listing
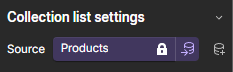
Connect the list to the Product Collection
Link the Collection List to the collection that contains your products
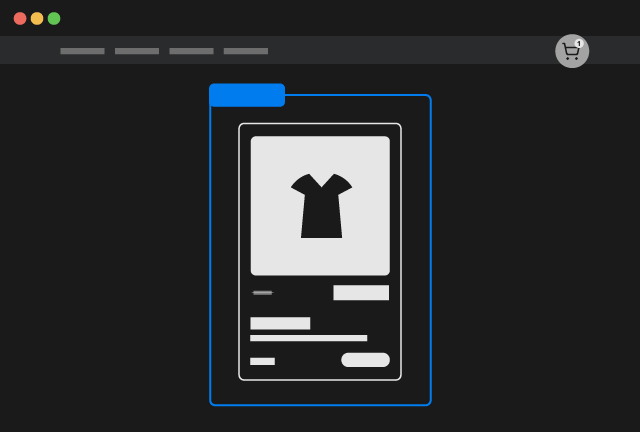
Design the Product collection item
Copy and paste the Product Custom Element inside the Collection List Item
Product Custom Element
Copy Element
Inside the Product Custom Element you can insert any Webflow element you desire and you connect them to the Webflow CMS.
For all the dynamic elements you can use inside the Product Custom Element with attributes or with other specific custom elements refer to the elements documentation
Copy and paste any of our pre-made example inside the Collection List Item
Product Card
Copy Element
Naturally you can insert any Webflow element you desire inside the pre-made examples.
For all the dynamic elements you can use inside the Product Custom Element with attributes or with other specific custom elements refer to the elements documentation
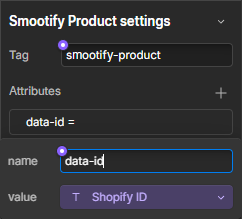
Connect the Product Custom Element to the Shopify ID
Connect the Product Custom Element to the Shopify ID field of the Webflow CMS
[Optional] Filter & Sort the Collection List
Webflow provides powerful tools to filter and sort your Collection Lists, allowing you to display specific subsets of your data in a desired order.
Filtering allows you to display only products that meet certain criteria.
Select the Collection List: Click on the Collection List element in your Webflow Designer.
Open the Collection List Settings: In the right sidebar, go to the "Collection List Settings" panel.
Add a Filter:
- Click the "+ Add Filter" button.
- Choose the field you want to filter by (e.g., "Collection," "Product Type").
- Select a filter condition (e.g., "equals," "contains," "greater than").
- Enter the value you want to filter by.
Multiple Filters: You can add multiple filters to refine your results. Webflow will apply all filters simultaneously.
Filter Logic: By default, filters are applied with an "AND" logic (all conditions must be met), but you can also select the "OR" logic.
Select the Collection List: Click on the Collection List element.
Open the Collection List Settings: Go to the "Collection List Settings" panel.
Add a Sort Order:
- Click the "+ Add Sort Order" button.
- Choose the field you want to sort by.
- Select the sort direction (ascending or descending).
Multiple Sort Orders: You can add multiple sort orders to create complex sorting rules. Webflow will apply the sort orders in the order they are listed.
Load products directly from Shopify
Specific project requirements might necessitate loading products directly from Shopify, rather than using Webflow's collection list feature. For example when you need to show latest products created or your best sellers.
Key Concepts:
- Product Template:
- You design a single 'Product Template', and Smootify, leveraging the Shopify Storefront API, automatically replicates that template for each product returned by your query.
- Dynamic data from the collection's fields is then populated into each Product Template.
- Dynamic Data Binding:
- Custom attributes and Custom Elements within the 'Product Template' dictate where dynamic Shopify data will be injected into the static elements by Smootify.
How to create a dynamic Product Listing
Add a Flex or Grid element
Design your flex/grid by keeping in mind that the replication of your product items will only occur on the live website, where your placeholder will be transformed into the full product listing.
Design the Product Template item
Copy and paste the Product Custom Element inside the flex/grid element you created.
Product Custom Element
Copy Element
Inside the Product Custom Element you can insert any static Webflow element.
For all the dynamic elements you can use inside the Product Custom Element with attributes or with other specific custom elements refer to the elements documentation
Copy and paste any of our pre-made example inside the flex/grid element you created.
Product Card
Copy Element
Naturally you can insert any Webflow element you desire inside the pre-made examples.
For all the dynamic elements you can use inside the Product Custom Element with attributes or with other specific custom elements refer to the elements documentation
Add the data-id attribute
To retrieve the correct data from Shopify, add the necessary data-id attribute.
The required value depends on your query. Refer to the list below for all possible data-id options.
Shopify is able to sort your products based on the product's sales history over the entire lifetime of the Shopify store. Since you cannot import in any way the sales data inside Webflow, your only way to show up products sorted in this way is by adding the attribute below to the Product Custom Element
data-idbest-sellerThe Shopify product creation date will not coincide with the Webflow creation date of the items, so to show up products sorted by creation date you have to add the attribute below to the Product Custom Element
data-idcreated-atShopify Storefront APIs do have a lot of different ways to filter and search for specific products.
Creating an attribute for any of it would be an impossible task since the combinations of filters you can use are infinite.
To overcome this, there is a way to directly create a Custom Query without having to deep dive into custom coding.
You have to add the following attributes:
data-idcustom-querydata-queryYour queryFor example you can filter products by tag by using query tag:'My Tag' that as custom attribute translates as:
data-querytag:'My Tag'or as another example you can filter products that have at least one variant available for sale with the query available_for_sale:true that as custom attribute translates as:
data-queryavailable_for_sale:trueFor a list of all the possible queries you can use, refer to the official Shopify documentation.
For custom queries you can also optionally sort in a specific way your products by adding the custom attribute:
data-sortSortKeyAs sort key you can add any of the Product Sort Key provided by Shopify Storefront APIs.
For example you can use:
data-sortTITLEto sort products alphabetically
Webflow's native functionality restricts dynamic filtering within nested Collection Lists. Consequently, directly displaying a list of Shopify Collections with their associated Products within a single, dynamically filtered structure is not possible using standard Webflow tools.
To overcome this limitation you can use the following attributes on the Product Custom Element
data-idspecific-collectiondata-collection-handlecollection-handleIf you are using this feature inside a Webflow Collection List connected to the Shopify Collections you have to connect the attribute data-collection-handle to the Collection Slug
data-collection-handleSlug[Optional] Limit the number of products
By default the dynamic queries explained before will fetch 3 products. You can override this limit by adding another custom attribute to the Product Custom Element
limitNumber of ProductsE.g to fetch 10 products you can add:
limit10