Elements and Attributes
Elements and Attribute for displaying product informations
This document outlines the various custom elements and attributes you can utilize within the Smootify Product Custom element to display dynamic product data fetched from the Shopify Storefront API and add essential e-commerce functionalities like "Add to Cart" or "Product Galleries".
Title
The "product title" is simply the name you give to your product, you can render it on any text element by just adding the attribute
producttitle
Product Title
Copy Element
Description
The product description allows you to convey essential details about your product, such as its features, materials, dimensions, and usage instructions. You can render it inside any Rich Text Element by just adding the attribute
productdescription
Product Description
Copy Element
First Collection
If you want to create a text/link element associated with the First Collection of your product without using Nested Collection Lists or when you are using Product Custom Elements directly rendered with Shopify data, you can use the attribute
productfirst-collectionSince the order of the collections is not modifiable in Shopify, you could have in the first collection something you would want to avoid. You can do that by adding also the attribute:
excludeCollection title to excludeInform Smootify about your Collection CMS collection slug
To prevent 404 errors, particularly when your Collection CMS collection slug is not 'collection', accurately specify the slug you used in the Webflow CMS collection within the Smootify script configurations.
URL
Any link element can be replaced with the Product URL by just using the attribute:
producturlInform Smootify about your Product CMS collection slug
To prevent 404 errors, particularly when your Product CMS collection slug is not 'product', accurately specify the slug you used in the Webflow CMS collection within the Smootify script configurations.
This element will automatically also add the product title if it has no child elements (E.G: text link)
LINK
Any link element can be replaced with the Product URL by just using the attribute:
productlinkThis element is just like the previous one with the difference that it will not add the title in the case the element has no child elements.
Inform Smootify about your Product CMS collection slug
To prevent 404 errors, particularly when your Product CMS collection slug is not 'product', accurately specify the slug you used in the Webflow CMS collection within the Smootify script configurations.
Min/Max Price
If your product has variants with very different prices you can also show up a range of the price by showing the minimuum and maximum price of the product variants, by just adding respectively the following attributes:
productmin-priceand
productmax-priceTags
Shopify product tags are keywords or labels that you assign to your products. They're a simple yet powerful tool for organizing your inventory and enhancing the customer's browsing experience.
You can mark any text element as a Tag template that will be duplicated once for each tag associated with your product by just using the attribute:
producttagsif you want to exclude some tags from being rendered you can also add the custom attribute:
excludeTag to ExcludeIf you have multiple tags to exclude divide them by comma
excludeTag 1,Tag 2Type
In Shopify, the "product type" is a way to categorize your products, providing a method for internal organization, if by any chance you need to render the product type on your Website, you can just mark any text element with the attribute:
producttypeCategory
"Shopify product category," are way different from "collections." While both help organize products, they serve distinct purposes. Collections are customer-facing groupings of products. They are used to create navigation menus, promote specific product sets, and enhance the customer's browsing experience. Product categories are for classifying products according to a standard system, mainly for tax and channel purposes and they are primarily for Shopify's internal use and for data standardization.
You can render the product category on any text element by just using the attribute:
productcategoryShop Pay
Shop Pay is a streamlined checkout and payment method developed by Shopify, designed to make online purchases faster and more convenient for consumers. It's the only accelerated checkout gateway that you can use on an Headless store outside of the checkout (at the checkout you can also use Apple Pay, GPay, Paypal express, etc...)
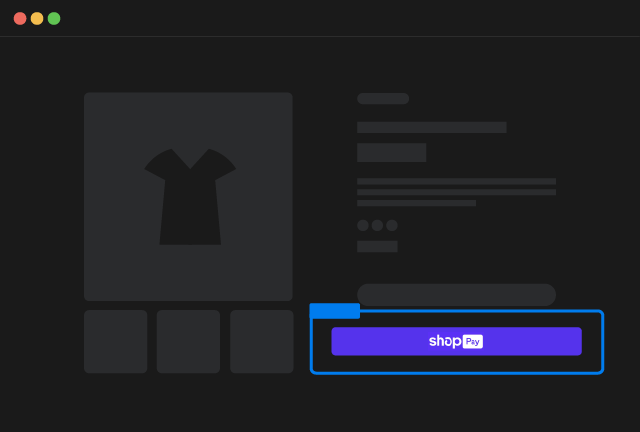
Shop Pay
Copy Element
Shop pay button style is not modifiable and is decided by Shopify
Images
Product images in Shopify refers to all the images you can upload inside the Product Media section of your Shopify product.
Webflow CMS Multi-Image field is limited to 25 images and each image is limited to 4MB, for this reason the product images are not synced with Webflow CMS. (You will also save a lot of bandwidth)
By just using 1 attribute you can show up all images attached to your product.
productimagesBy using this attribute you will define an "Image Template" that will be duplicated once for each image that you have in your Product Media field in Shopify.
You can use this attribute on several different Webflow Elements like:
- On a Slider
- On a Lightbox Link
- On an Image element
- On a Slider with a lightbox inside
- On any other element (in this case the image will be set as a background image - greatly discouraged for browser performances)
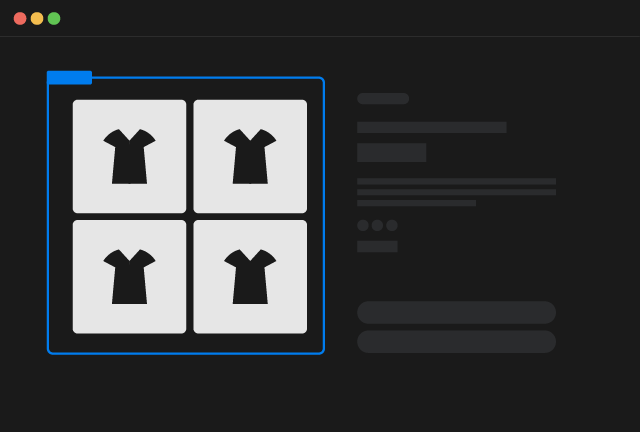
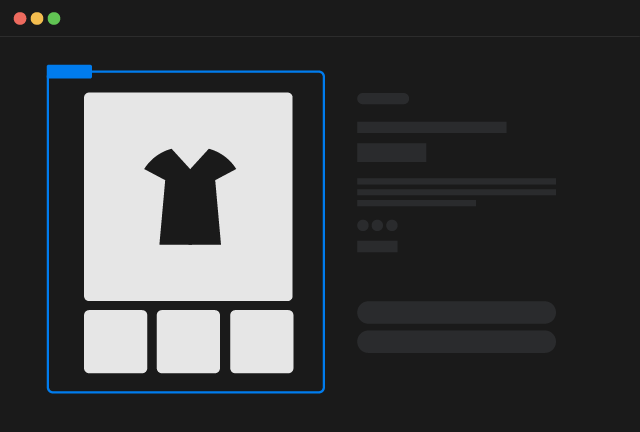
For enhanced product image presentation, the Product Custom Element intelligently integrates Slider and Lightbox/Images features. By configuring both a Slider and Lightbox Link/Image elements to display product images inside the same Product Custom Element, the Lightbox Link/Image elements are automatically transformed into interactive slider navigation dots, providing a user-friendly and visually engaging gallery experience.
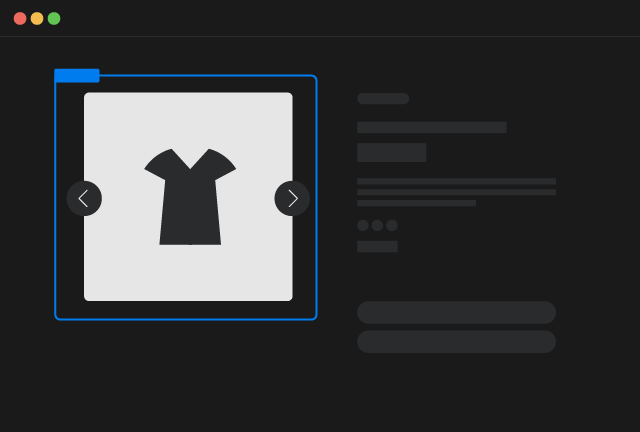
Images Slider
Copy Element
Images Lightboxes
Copy Element

Images Gallery
Copy Element
If you wish to show up only the images that are associated to the current selected variant you have to enable the Smootify Option - Show Only Active Images.
This feature organizes Product Media images into variant galleries, each gallery contains images that will start with the variant associated image up to the next variant image.
For example if you have 3 variants labelled respectively V1, V2 and V3 you uploaded the images inside the Product Media field like below
 V1V2 V3
where the images you see with the label are associated with the respective variants.
You will have 3 different variant galleries
V1V2 V3Specific Image
Sometimes it's pretty usefull to load a specific selected image of your Product Media field. Think for example if you want to create an interaction that at hover shows the second image instead of the featured one. For this purpose you can use the attribute:
productspecific-imageon Images or on Div elements (as background)
By default the image that will be rendered is the second one. You can modify this behaviour by adding an additional attribute:
indexindex of the imageBy default in all programming languages, arrays of elements are 0-indexed. That means that if you use
index2you will select the 3rd image of the Product Media field
Media
Product media in Shopify refers to the various types of visual content used to showcase products on an online store. It goes beyond just static images, encompassing a range of multimedia formats. For this reason media are not imported inside Webflow CMS.
Webflow CMS fields do only allow a limited multi-image upload that is limited to 25 images and that doesn't allow different kind of medias, like instead Shopify does. That's the reason why the Product Media field of Shopify is not imported inside Webflow.
By just using 1 attribute you can show up all images attached to your product.
productmediaBy using this attribute you will define a "Media Template" that will be duplicated once for each media file that you have in your Product Media field in Shopify.
Types of product media you can upload in Shopify:
- Images:
- Standard product photos, including multiple angles, close-ups, and lifestyle shots.
- Used to display the product's appearance, details, and context.
- Videos:
- Product demonstrations, tutorials, or promotional videos.
- Used to showcase product functionality, features, and benefits.
- 3D Models:
- Interactive 3D representations of products.
- Used to provide a more immersive and detailed view of the product.
You can use this attribute on several different Webflow Elements like:
- On a Slider
- On a Lightbox Link (3D models not supported)
- On an Image element
- On any other element (in this case the images will be set as a background images - greatly discouraged for browser performances)

Media Slider
Copy Element

Media Lightboxes
Copy Element
Media Gallery
Copy Element
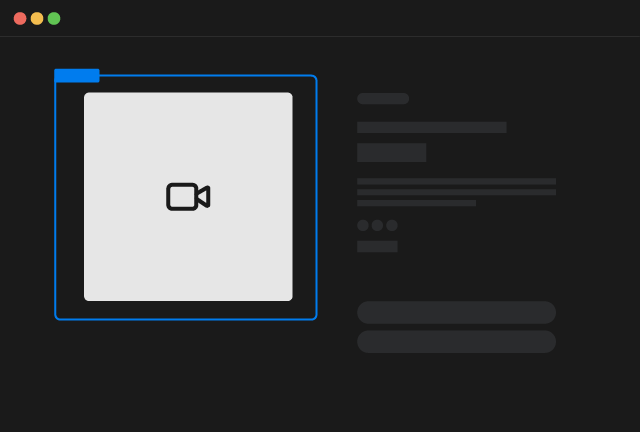
Video
If you need to render the first video uploaded on the product media of Shopify you have just to use the attribute
productvideoYou can add it on different Webflow Elements like:
- On a Lightbox Link
- On a Background Video
Video
Copy Element
External Video
If you need to render the first external video (Youtube, Vimeo, etc...) uploaded on the product media of Shopify you have just to use the attribute
productexternal-videoYou can add it only on Div elements, inside the External video Iframe will be rendered

External Video
Copy Element
3D Models
Inside the Product media field of Shopify you can even add 3D models!
In order to use them in Webflow you have just to add the following attribute on a div element:
productmodels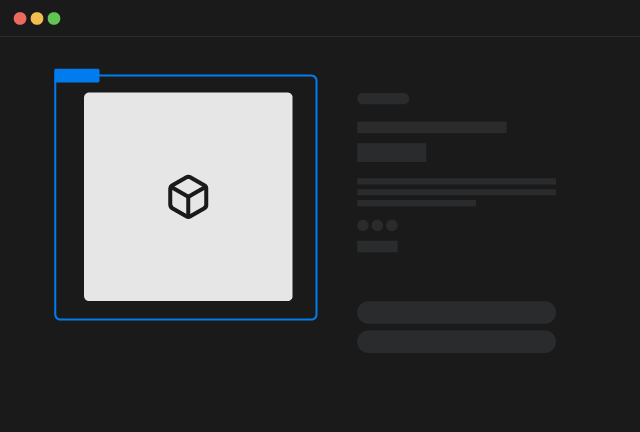
3D Models
Copy Element
Vendor
In Shopify, the "vendor" field designates the manufacturer, supplier, or brand of a product. It's a way to track and display the source of your products.
You can render the vendor on any text/link element by using the attribute:
productvendorInform Smootify about your Vendor CMS collection slug
To prevent 404 errors, particularly when your Vendor CMS collection slug is not 'vendor', accurately specify the slug you used in the Webflow CMS collection within the Smootify script configurations.
Published At
If you need to render the product publication date (formatted based on the current browser Date format), on any text element you can add the custom attribute:
productpublished-atVariant Elements
In Shopify, product variants allow you to offer different versions of a single product. This is essential for products that come in multiple sizes, colors, materials, or any other differentiating attributes. All products have at least 1 variant.
For optimal performance, product variants are not imported directly into the Webflow CMS. With Shopify's variant limits, importing them would be very taxing on the Webflow CMS. Instead, the Product Custom Element allows for a seamless, dynamic link to the selected Shopify variant, ensuring that the customer sees the correct variant information when making their selection. Variants so are directly selectable with the add to cart custom element and many other attributes can be used to further improve your customer experience. Let's dive in into elements that are directly linked to the selected Variant!
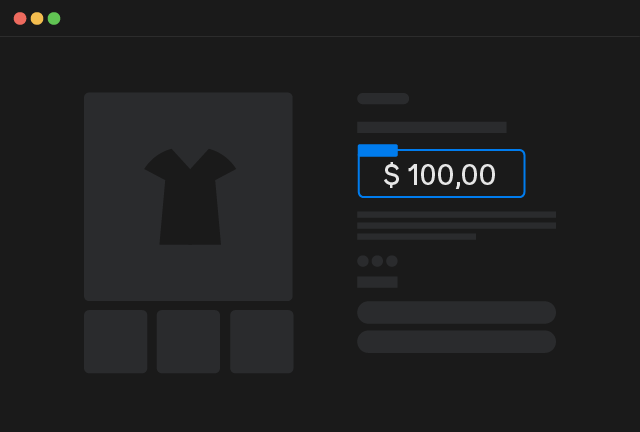
Price
For dynamic pricing that reflects the selected variant and the customer's market, beyond the initial variant price synced in the Webflow CMS, this specific Smootify Custom Element is required.
Price
Copy Element
Element Structure
The price element is just a custom element with tag smootify-price and inside 2 texts with respectively the attributes:
data-proppricedata-propcompareAtPriceIf you remove those 2 attributes or change the tag name the price will not be correctly rendered.
Compare at Price is hidden by default in all EEA countries
By default to comply with European Laws the compare at price is hidden by Shopify settings for all customers that do visit your site from a country within the European Economic Area (EEA).
You can change this setting from your Shopify Dashboard, Settings > Markets > Preferences > Pricing - Compare-at-price hiding.
Price format
The pricing format is decided by your Shopify settings in particular by the option called "HTML without currency". The currency format is heavily cached so don't worry if you don't see the changes immediately, try in incognito or wait few minutes.
Element Options
If by any change you need to remove part of the formatted price, you can use the custom attribute:
data-removepart to removeFor example
data-remove.00If by any change you need to replace part of the formatted price with a different one, you can use the custom attribute:
data-replacepart to replace|replacementFor example
data-replace.00|.-Featured Image
In Shopify, the "variant featured image" is the specific image associated with a particular product variant. It's a crucial visual element that helps customers understand the differences between the various options of a product. You can render the featured image on any Image or Div (as a background image) just by using the attribute:
variantimageSKU
In Shopify, a "variant SKU" (Stock Keeping Unit) is a unique identifier assigned to each individual variation of a product. It's a critical tool for inventory management and order fulfillment. For some stores, is crucial to show the SKU to the end user as well in order to help him correctly select the needed product.
You can mark any text element as the variant sku by just using the attribute:
variantskuBarcode
In Shopify, a "variant barcode" is a unique barcode assigned to each individual variation of a product. It's a key element for efficient inventory management, especially for businesses that use barcode scanners.
You can mark any text element as the variant barcode by just using the attribute:
variantbarcodeWeight
In Shopify, "variant weight" refers to the weight assigned to each individual variation of a product. This is crucial for accurate shipping calculations and order fulfillment. You can mark any text element as the variant weight by just using the attribute:
variantweightUnit Price
In Shopify, the "variant unit price" is used when you're selling products by a specific unit of measurement, like per kilogram, per liter, or per piece. It's designed to help customers easily compare the cost of different product sizes or quantities.
You can mark any text element as the variant unit price by just using the attribute:
variantunit-priceThe element you mark with that attribute will have inside the unit price and the reference unit used, the unit is rendered as a span element with the class reference-unit. If you need to style that span differently you can either create an element with that class in Webflow in a draft page like the style guide one, or you can use custom css like
.reference-unit {
  /** Your style rules here **/
}
Discount Percentage
If your variant has a compare-at price you can show up the discount percentage on any text by using the attribute:
variantdiscount-percentageVisibility
If the compare-at price is not set the discount percentage will be 0%, so use it in combination with conditional visibility!
Not related to Coupons
The discount percentage is not relative to coupons you created in your store! It's only and exclusively relative to the difference between price and compare-at price!
Discounted Amount
If your variant has a compare-at price you can show up the discounted amount on any text by using the attribute:
variantdiscounted-amountVisibility
If the compare-at price is not set the discounted amount will be -0, so use it in combination with conditional visibility!
Not related to Coupons
The discounted amount is not relative to coupons you created in your store! It's only and exclusively relative to the difference between price and compare-at price!
URL
If you want to directly link to a specific variant you can use the attributes:
varianturldata-typevariant-typeWhere for variant-type you can use min, max, to link respectively to the variant that has lowest price and the one that has maximuum price.
Stock Quantity
In Shopify, "stock quantity" refers to the number of units you have available for a particular product or variant. You can mark any text element to show up the stock quantity by just using the attribute:
variantstockOption Names and Values
In Shopify, "variant options" are the attributes that define the different variations of a product. They're the choices a customer makes to select the specific version of a product they want to purchase. Shopify automatically generates all possible combinations of the option values, creating the individual variants that will have a separate pricing and inventory.
Shopify allows up to 3 option sets.
If you need to show up selected option names and values, outside of the add to cart variant selectors, you can use on any text element respectively the attributes
variantoption1-namevariantoption2-namevariantoption3-nameand
variantoption1-valuevariantoption2-valuevariantoption3-valuethat will render the selected option names and values of each option set (if available in the variant).
Dynamic CDN Compression
For all elements that render images (like Variant Image, Specific Image, Images, etc...) you can leverage the Shopify CDN to dynamically compress and optimize the images.
You can control the CDN by using 4 different properties that you can combine in different ways:
- Only Width
- Only Height
- Width & Height + Crop
- Width & Height + Padding Color
Width
The desired width of your image, automatically Shopify will resize down the image to stay at your desired width, values can go from 0 to a max of 5700. You can indicate that by using the attribute:
max-widthWidth in pixelFor example to get an image that get's resized down to 640px width you have just to add the following attribute:
max-width640the name of the attribute is max-width because width is a reserved name and you can't use it in Webflow.
Height
The desired height of your image, automatically Shopify will resize down the image to stay at your desired height, values can go from 0 to a max of 5700. You can indicate that by using the attribute:
max-heightHeight in pixelFor example to get an image that get's resized down to 640px height you have just to add the following attribute:
max-height640the name of the attribute is max-height because height is a reserved name and you can't use it in Webflow.
Crop
If you've set both Height and Width values, and your image's original dimensions are larger, you have the option to set a crop preference. This preference dictates the starting point for image cropping within Shopify.
cropcrop preferencePadding Color
If you've set both Height and Width values, and your image's original dimensions are smaller, you have the option to set a padding color. This preference dictates the color that Shopify will use to fill the image and achieve your desired dimensions.
padding-color#hexcodeYou can only use Hex code colors
e.g: if you want to pad the image with our cool color just use the attribute:
padding-color#ff6d2fNot for Webflow CMS images
Note that this feature is exclusive for images loaded directly from Shopify and will not work on elements you connected to Webflow CMS instead.