Customer Metafields Editor
Allow your customer to edit it's own metafields
This document introduces the "Metafields Editor" add-on, a powerful tool that bridges the gap between Webflow's intuitive form building capabilities and Shopify's robust data management through metafields.
Customer Accounts
This add-on will work only and exclusively if you are using Customer Accounts. Legacy accounts are not supported!
What is the Metafield Editor Add-on?
This add-on allows you to build custom forms in Webflow that directly interact with your loegged in customer metafields.
How to configure [Shopify]
Create metafields definition
Create the metafields definition from Shopify panel > Settings > Custom Data > Metafields > Customer. You can create metafields in whatever way you like, just be sure to enable the options:
-
Customer accounts access as Read and write;
-
Storefronts API access;
How to configure [Webflow]
Copy our Component

Customer Metafield Editor
Copy Element
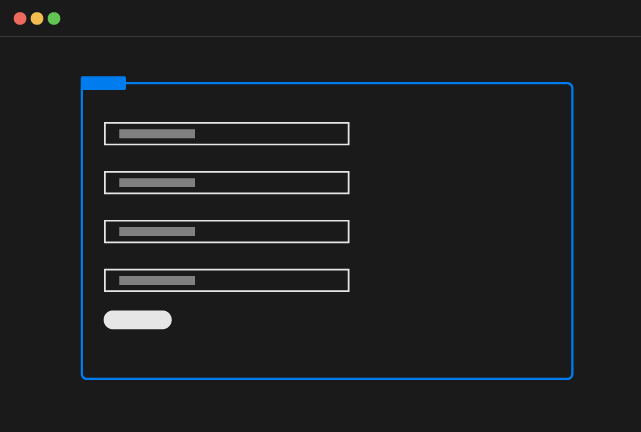
The component is just a Custom Element with tag customer-metafields-editor that inside has a normal Webflow Form!
Configure the inputs
Inside the form you have to add the input fields that are necessary for the metafield editing.
Check the Input Names
The Input Names you create in Webflow must match exactly the keys of the fields you created in the Shopify metafields definition.
The key is usually the snake_case version of the label
E.g: My title -> my_title
File Uploader Input
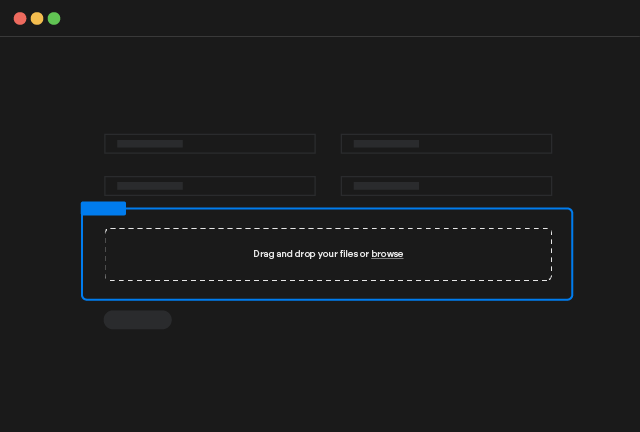
Inside the Customer metafields editor you can also use the File Uploader
Server Plan
File Uploader Input requires the Server Plan.

Metafield File Input
Copy Element
The file will be uploaded directly on Shopify so the limits are imposed by Shopify:
- Maximum file size is 20MB;
- Maximum resolution is (4300 x 4300);
- Allowed formats: png, jpg, web, csv, pdf and json.
If you need different limits we suggest you using UploadCare or create a solution with Cloudflare R2 that is the cheapest file hosting on the market.
In that case you will use a different upload solution be sure to set the field on Shopify as url, Shopify File field will not accept files not uploaded on Shopify.
Options
The component can be customized with the Custom Attributes explained in the section below:
Input Name
By default the Input will be created with name File, if you need to customize the name just use the attribute:
Multiple Files
If you need to allow multiple files uploading you can use the attribute:
Min File Size
If you need to customize the minimuum file size required you can use the attribute:
for example
Will set the minimuum allowed file size to 2MB
Max File Size
Max file size is 20MB and cannot be modified, since that is the limit imposed by Shopify
Min Resolution
If you need to customize the minimuum file image resolution required you can use the attribute:
Max Resolution
Max resolution is 18.490.000 and cannot be modified, since that is the limit imposed by Shopify
Show Image Preview
If you want to see the preview image of the file just uploaded in the file input, you can use the attribute:
Accept only images
By default the file uploader will accept all file types accepted by Shopify, if you want to accept only images you can add the attribute:
Ignore Inputs
If you need to include inputs that are not explicitly defined within the customer metafields's structure, prefix the input name with an underscore (_). This convention allows you to add extra inputs that will not be sent to the customer metafields.
Example:
Why does it matter?
If you send fields that are not connected to metafields, the saving operation will fail