Magic Add-Ons
Dynamically create product bundles with add-ons
Generate customizable product bundles with add-ons, complete with unique titles and images, and display them seamlessly at checkout.
Shopify Checkout
This functionality uses Shopify Checkout Extensions in order to create a real bundle of products even at the checkout!

All plans
This Add-On is included in all plans.
Activate add-on
This Add-On requires activation. You need to enable the add-on on the Smootify Dashboard of the site you are designing.
Dependencies
This Add-On requires Magic Box add-on to be activated.
How to configure [Shopify]
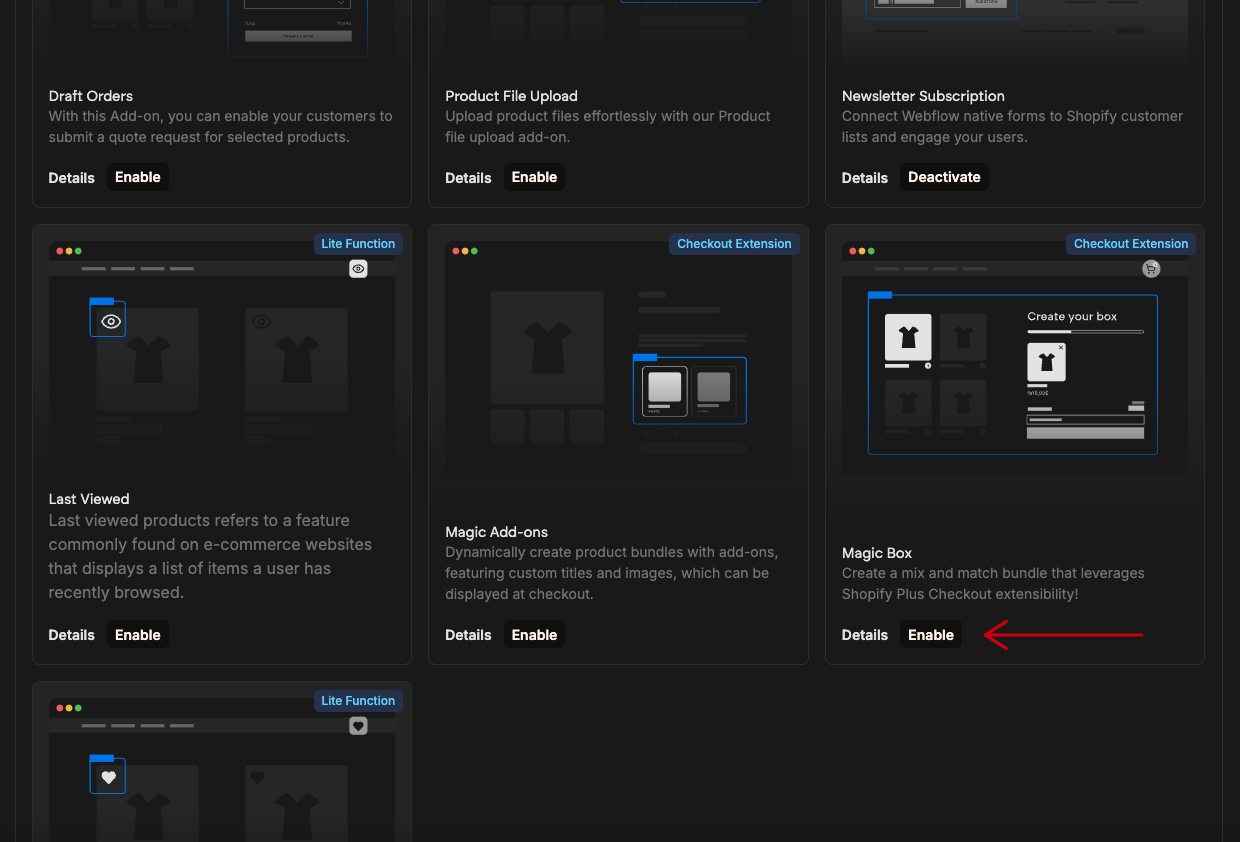
Activate the Magic Box Add-on
To turn on the Magic Add-ons feature, go to your project in the Smootify dashboard and activate first the Magic Box addon it within Sites add-ons.
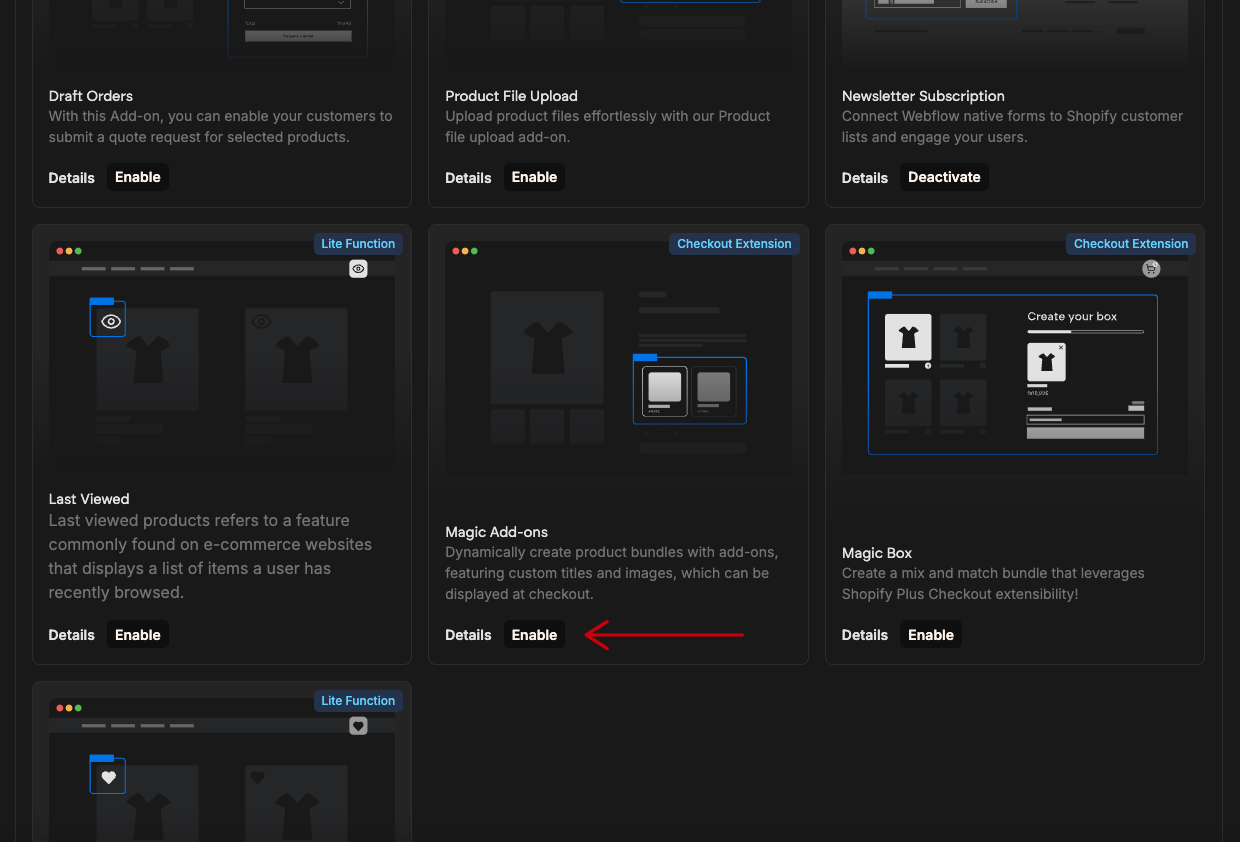
Activate the Magic Add-ons Add-on
To turn on the Magic Add-ons feature, go to your project in the Smootify dashboard and activate first it within Sites add-ons.
Set the metafields as readable
When you activate the Magic Add-ons add-on, 2 metafields definition will be automatically added to your Shopify. To ensure proper functionality, go to your Shopify Dashboard > Settings > Custom Data > Products. Find the 'Combinations' and 'Add-ons' metafield definitions and enable Storefronts access.
Set the metaobject as readable
When you activate the Magic Add-ons add-on, a metaobject definition will be automatically added to your Shopify. To ensure proper functionality, go to your Shopify Dashboard > Settings > Custom Data > Metaobjects. Find the 'Combinations' metaobject definition and enable Storefronts access.
Create your combinations
Create your combinations inside Shopify > Content > Metaojbects > Combinations. Combinations are basically a way to dynamically change title and image of the box based on the combinations added to the cart.
Inside each Combination you don't have to add the main product but only the addon variants selected.
E.g: you have a main product called Tablet and two add-ons Pen and Keyboard. To cover all the combinations you have to create 3 combinations with respectively:
- Pen
- Keyboard
- Pen and Keyboard
Select your add-ons
Within the Shopify product dashboard, utilize the 'Add ons' metafield to associate products that should be offered as part of a bundle with the current product.
How to configure [Webflow]
Add a Flex or Grid element
Design your flex/grid by keeping in mind that the replication of your product items will only occur on the live website, where your placeholder will be transformed into the full product listing, remember to add this element inside the Add to Cart Element
Design the Product Template item
Copy and paste the Product Custom Element inside the flex/grid element you created.
Product Custom Element
Copy Element
Inside the Product Custom Element you can insert any static Webflow element.
But you must add one of our Add-on selectors.
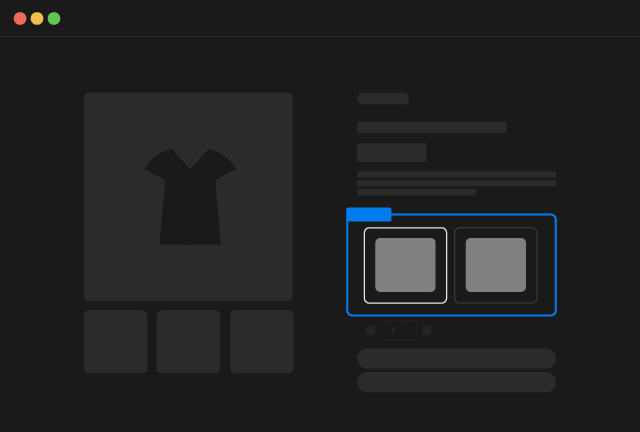
Add-on Checkbox
Copy Element
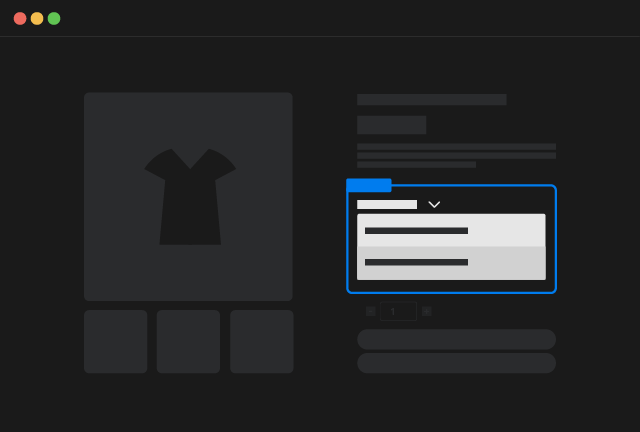
Add-on Dropdown
Copy Element

Add-on Select
Copy Element
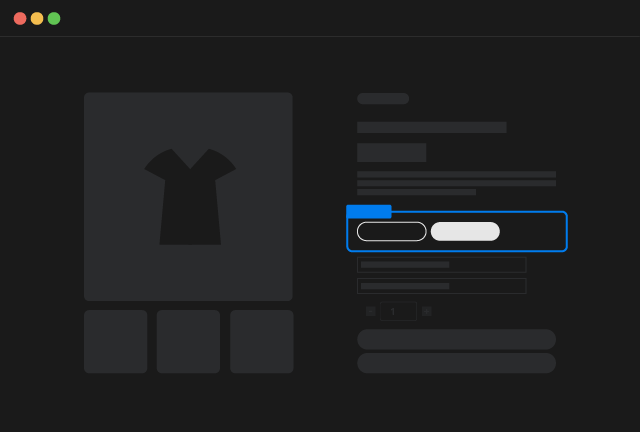
Add-on Swatches
Copy Element
Copy and paste any of our pre-made example inside the flex/grid element you created.
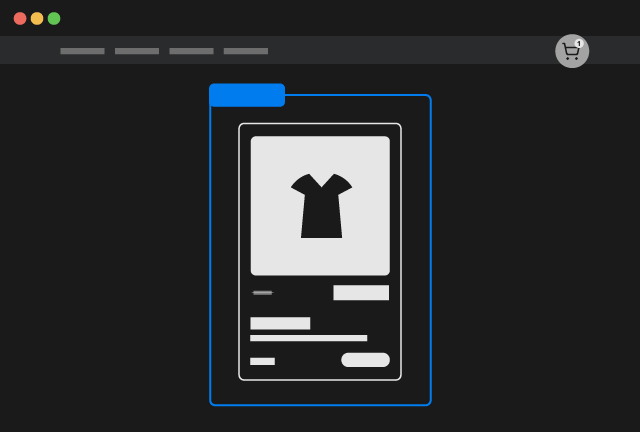
Product Card
Copy Element
Add the data-id attribute
To retrieve the correct data from Shopify, add the necessary data-id attribute.
In this case you to select products from the add-ons metafield, so use:
data-idmetafields.custom.add_onsAdd the data-parent-id attribute
To retrieve the correct data from Shopify, add the mandatory data-parent-id attribute. The attribute must be connected to the Shopify ID Webflow CMS field and just indicates that you want to load for example related products from the parent product selected by that ID
data-parent-idShopify IDJS Extensibility
If you don't want to use Combinations to modify the Box Title or Box Image you have 2 ways:
Attributes
You can add these 2 attributes on the Add to Cart Element.
box-titleBox Titlebox-imageBox ImageRemember that the Box Image url must be on shopify cdn otherwise it will not be accepted.
You can modify those attributes with JS, they will be re-read everytime the add to cart button will be pressed.
Custom Function
You can create a function attached to the window object that can process the items that are being added to the cart and return an object with title and image
window.smootifyAddOnsBox = (cartItems) => {
    /*
        cartItems is an array of objects {
            product: Product,
            variant: ProductVariant,
            attributes: Object[],
            quantity: number
        }
    */

   // Do your own code here

   return {
    title: "My Title",
    image: "My Image"
   }
}