Dynamic Properties
Dynamically show property inputs
This document introduces "Dynamic Properties," a powerful feature that allows you to dynamically show input elements within the Smootify Add-to-Cart component based on Shopify Metaobjects. This basically allows you "designer" to lay out all possible properties and control their visibility from Storefront. This is usefull when Webflow conditional visibility is not enough for your store.
All plans
This Add-On is included in all plans.
Activate add-on
This Add-On requires activation. You need to enable the add-on on the Smootify Dashboard of the site you are designing.
How to setup [Shopify]
Activate the Add-on
To turn on the Dynamic Properties feature, go to your project in the Smootify dashboard and activate it within Sites add-ons.
Set the metafield as readable
When you activate the Dynamic Properties add-on, a metafield definition will be automatically added to your Shopify. To ensure proper functionality, go to your Shopify Dashboard > Settings > Custom Data > Products. Find the 'Dynamic Properties' metafield definition and enable Storefronts access.
Set the metaobject as readable
When you activate the Dynamic Properties add-on, a metaobject definition will be automatically added to your Shopify. To ensure proper functionality, go to your Shopify Dashboard > Settings > Custom Data > Metaobjects. Find the 'Dynamic Property' metaobject definition and enable Storefronts access.
Create Dynamic Properties
From your Shopify Panel > Content > Metaobjects create your Dynamic Properties.

Every Dynamic Property has these fields:
| Field Name | Possible Values | Usage |
|---|---|---|
Name | Any text | This field is just for internal use to facilitate the search inside Shopify backend when you attach dynamic properties to products |
Label | Any text | This field is the one that will allow the match with Webflow, so write it down because you will need it later on in Webflow |
Property Type |
| This field will change the type of component you will use in Webflow to correctly style it |
Property Name | Any Text | This field will be the name of the property added to the cart, if you want to hide it on cart and checkout use a name that starts with '_' |
Placeholder | Any Text | This field will dynamically change the placeholder of the inputs (when supported) |
Property Values | List of texts | For dropdown, select, radio and swatches, you have to set in this field the values that you want to show up in the frontend |
Input Attributes | List of texts | If you want to add attributes to the input you have to write a list of texts by following the syntax key:value, e.g: max:3 |
Required | On / Off | Will indicate if they input is required or not |
Images | List of Images | Only for the swatches input you can add also a list of images, you must respect the order you've set for the Property Values |
Connect the properties on each product
Fill the Properties metafield that you find in each product with the Dynamic properties you created before
How to setup [Webflow]
Add the Components
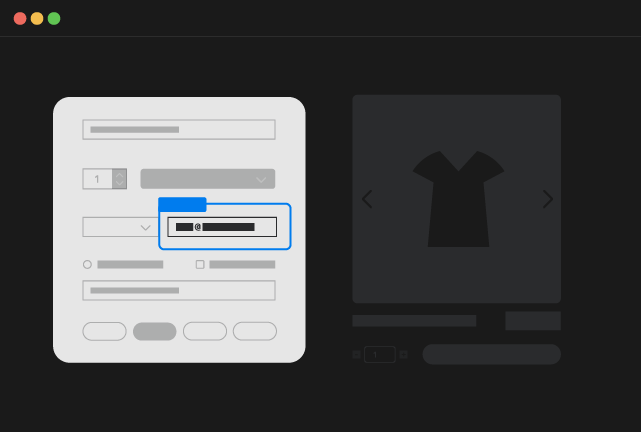
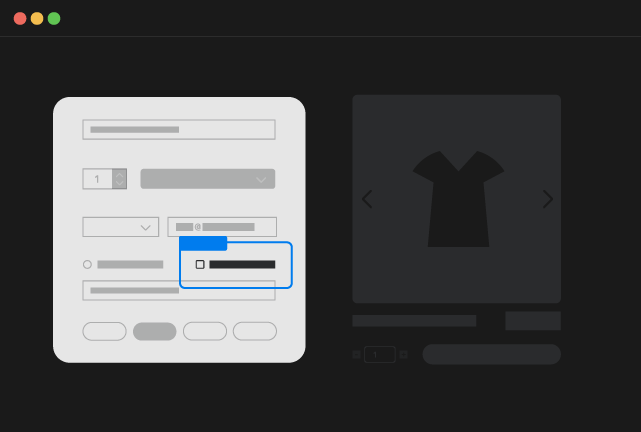
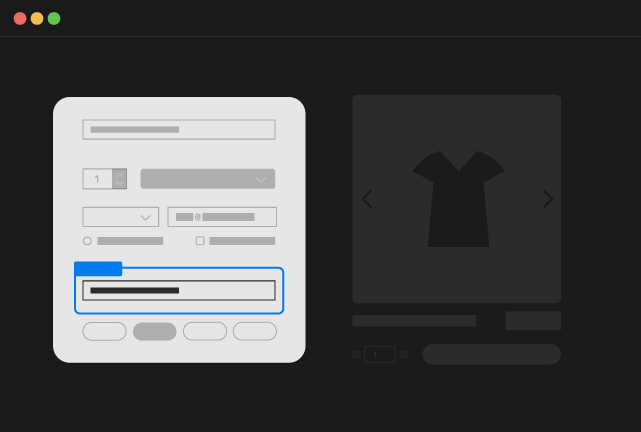
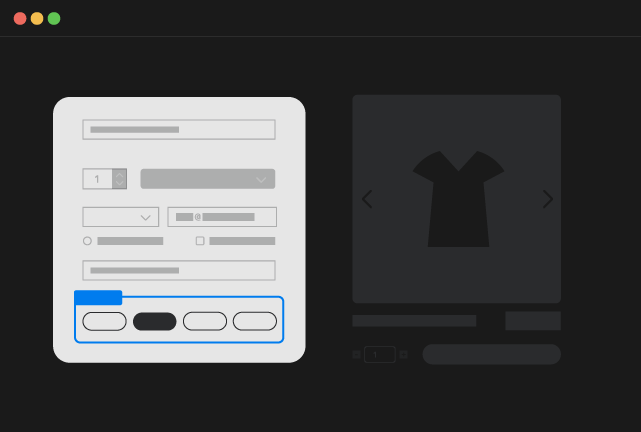
For each Dynamic Property you want to support in your template, you have to add a Component inside the Add to Cart.
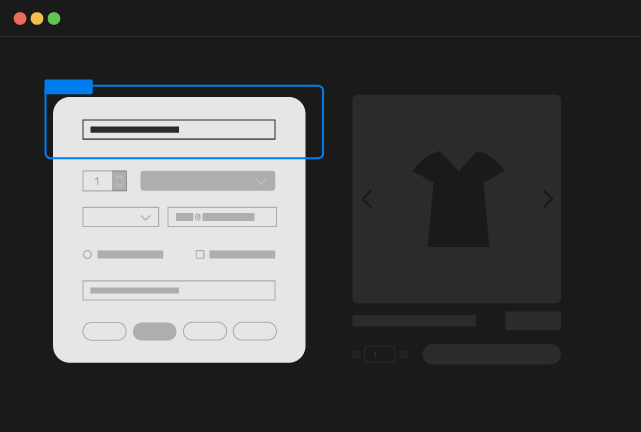
Text
Copy Element
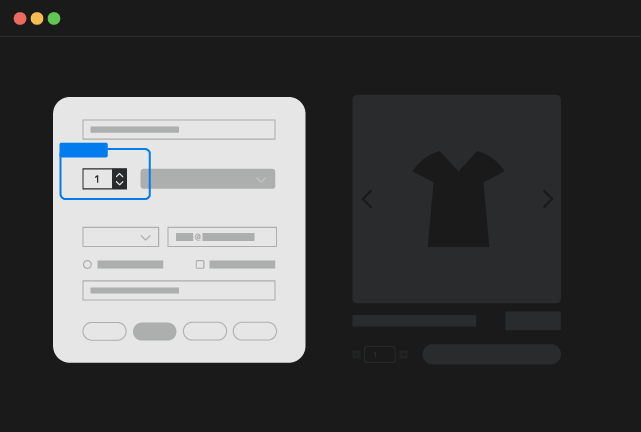
Number
Copy Element
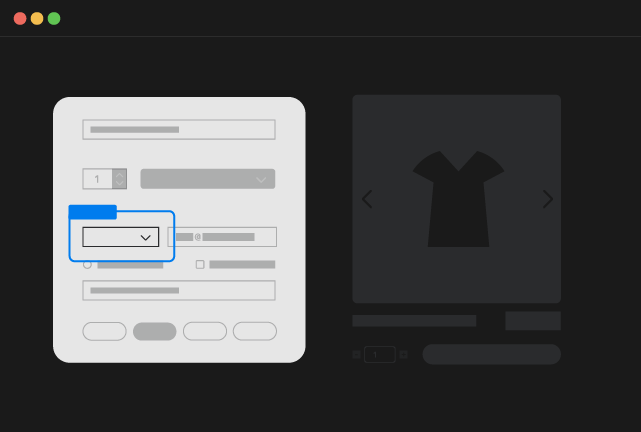
Select
Copy Element

Dropdown
Copy Element
Copy Element

Radio
Copy Element
Checkbox
Copy Element
Url
Copy Element
Swatches
Copy Element
Change the Label Custom Attribute
For each component you copied you must change the Custom Attribute:
labelLabel you added in ShopifyIn this way you will indicate that the Dynamic Property will be connected to the Dynamic property associated to the product and that has that specific Label indicated in the attribute.
[Optional] Delete Parent
If for style requirements you do require to remove the element that wraps the dynamic property (the Parent) and not only the dynamic property in the case the Dynamic Property doesn't exists you can add the attribute
delete-parenttrue