Listing
How to design your listings in Webflow
This document outlines the steps and best practices for creating product variants listings in Webflow using Smootify.

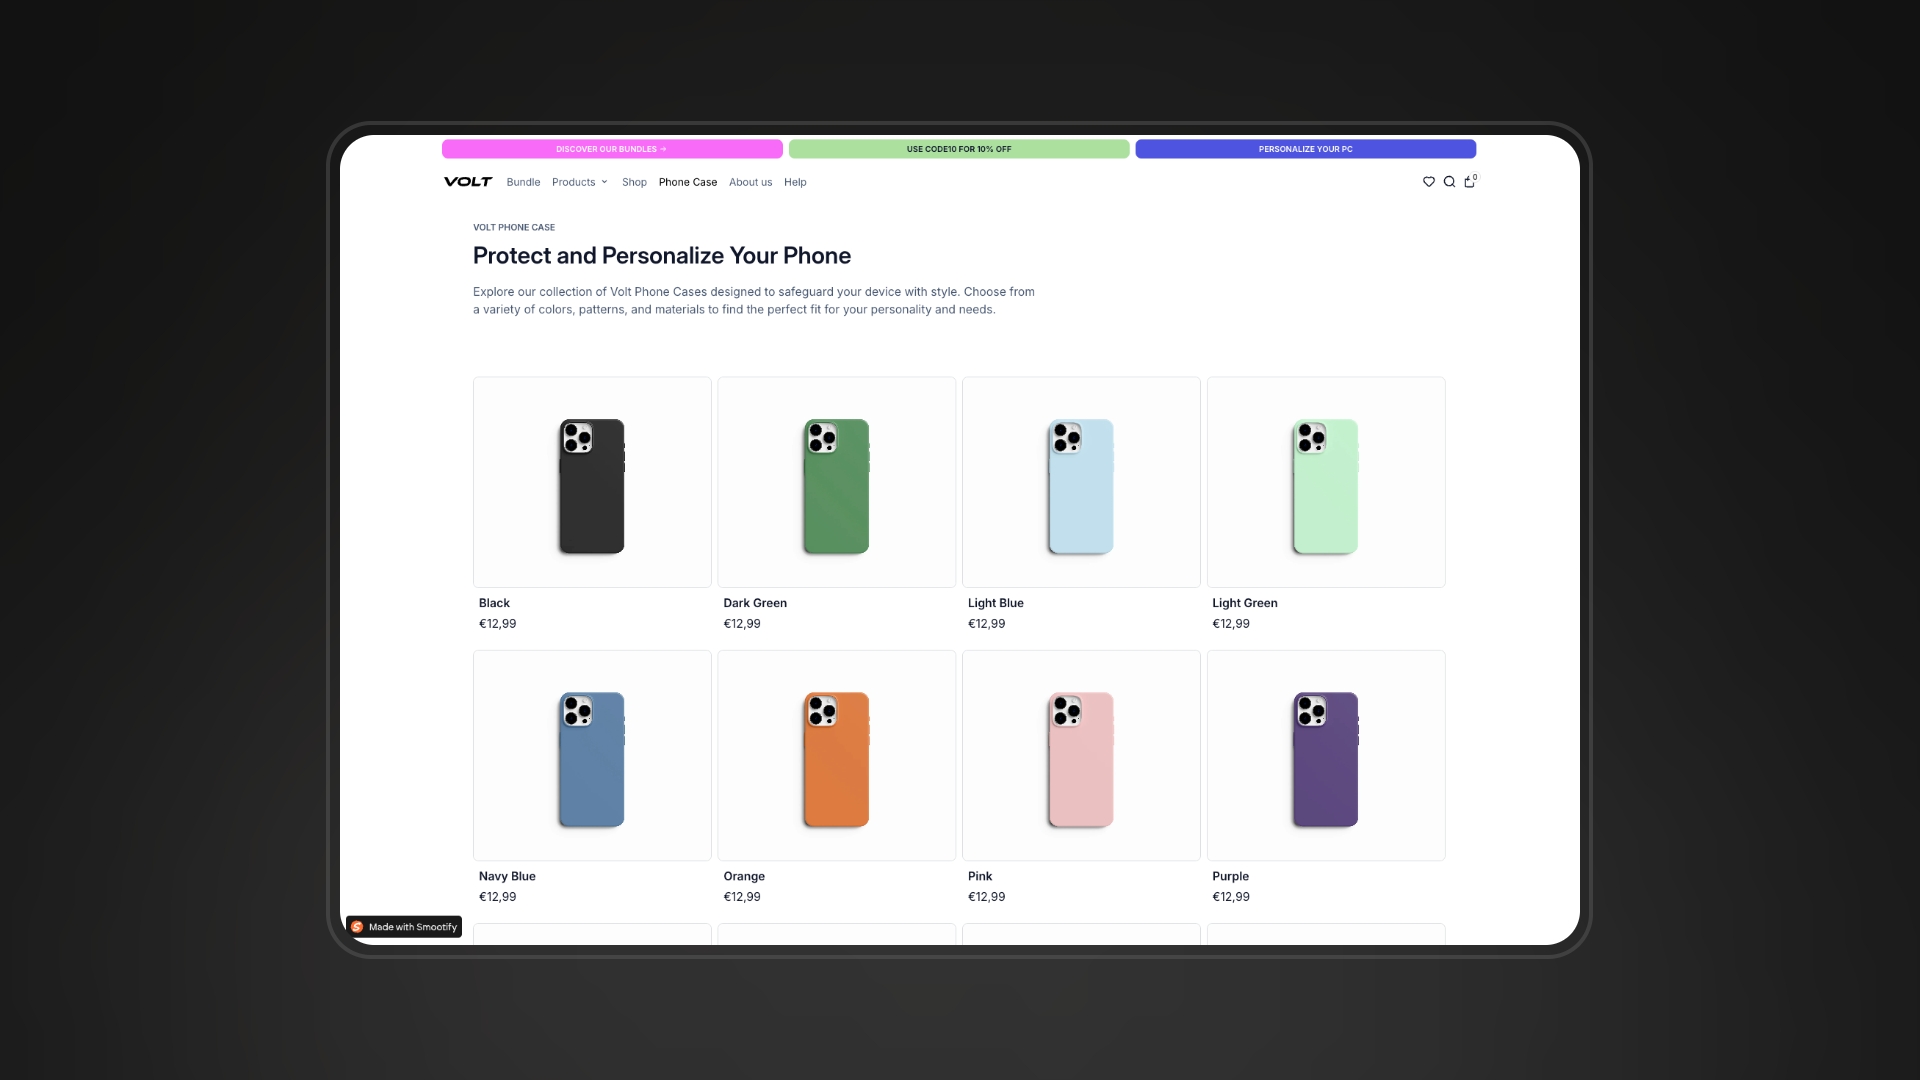
Learn how to fetch product variants data from your Shopify store and display it in visually appealing grids and lists on your Webflow site.
You can create product variants listings using only one method:
- Webflow Collection Lists
Webflow Collection Lists
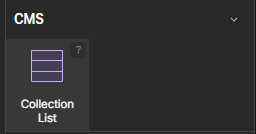
Webflow Collection Lists are a core feature within the Webflow Designer that allows you to dynamically display content based on a structured dataset. Think of them as templates for repeating elements.
Key Concepts:
- Collections:
- A collection is a database-like structure within Webflow that stores structured data.
- Each collection contains fields (e.g., "Product Name," "Image," "Price") that define the type of data it holds.
- Collection Lists:
- A Collection List is a Webflow element that displays the items within a collection.
- You design a single "template item" within the Collection List, and Webflow automatically replicates that template for each item in the collection.
- Dynamic data from the collection's fields is then populated into each template item.
- Dynamic Data Binding:
- Within a Collection List item, you can bind elements (text, images, links) to the fields of your collection.
- This means the content of those elements will change dynamically based on the data in each collection item.
How to create a Product Listing
Connect the list to the Product Collection
Link the Collection List to the collection that contains your products

Design the Product Variant collection item

Variant Custom Element
Copy Element
Connect the Variant Custom Element to the Shopify ID
Connect the Variant Custom Element to the Shopify ID field of the Webflow CMS
[Optional] Filter Variants by Unique Option
If your product has multiple options sets and you want to filter variants by unique values of only one option set, you can add on the Variant Custom Element the attribute
Where option index can be 0, 1 or 2.
For example if your product has 2 options sets with respectively the values X, M and Blue,Red,Yellow.
You will have these variants combinations: X/Blue, X/Red, X/Yellow, M/Blue, M/Red, M/Yellow.
If you set the attribute
The variants that will be showed will be X/Blue and M/Blue
While if you set the attribute
In this case the variants that will be showed will be X/Blue, X/Red, X/Yellow
[Optional] Filter & Sort the Collection List
Webflow provides powerful tools to filter and sort your Collection Lists, allowing you to display specific subsets of your data in a desired order.
Filtering allows you to display only products that meet certain criteria.
Select the Collection List: Click on the Collection List element in your Webflow Designer.
Open the Collection List Settings: In the right sidebar, go to the "Collection List Settings" panel.
Add a Filter:
- Click the "+ Add Filter" button.
- Choose the field you want to filter by (e.g., "Collection," "Product Type").
- Select a filter condition (e.g., "equals," "contains," "greater than").
- Enter the value you want to filter by.
Multiple Filters: You can add multiple filters to refine your results. Webflow will apply all filters simultaneously.
Filter Logic: By default, filters are applied with an "AND" logic (all conditions must be met), but you can also select the "OR" logic.
