Elements and Attributes
Elements and Attribute for displaying product informations
This document outlines the various custom elements and attributes you can utilize within the Smootify Variant Custom element to display dynamic variant data fetched from the Shopify Storefront API.
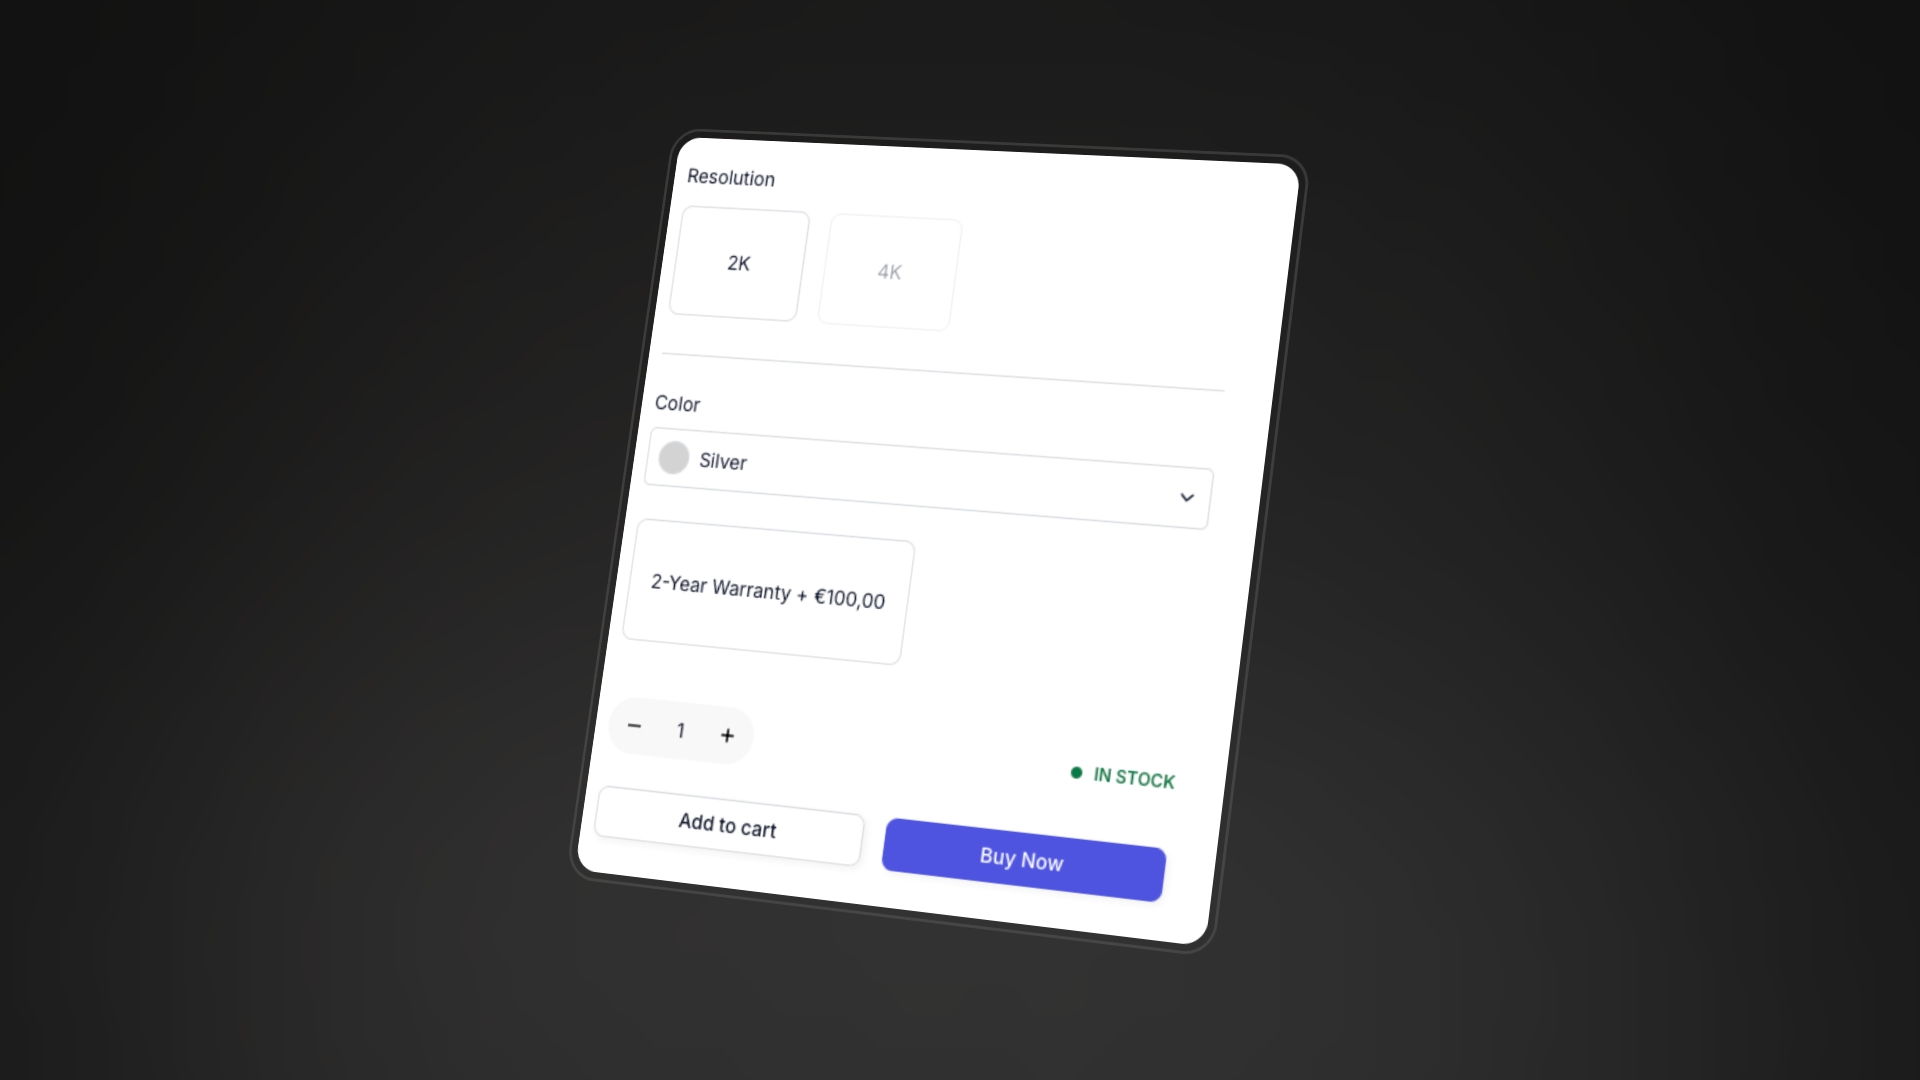
Title
The Variant Title in Shopify is the combination of all the Options, for example if your Variant has
- Option 1 - M
- Option 2 - Red
The variant title will be M / Red.
You can mark any text element to be rendered as the Variant title with the Custom Attribute
varianttitleFeatured Image
In Shopify, the "variant featured image" is the specific image associated with a particular product variant. It's a crucial visual element that helps customers understand the differences between the various options of a product. You can render the featured image on any Image or Div (as a background image) just by using the attribute:
variantimageStock Quantity
In Shopify, "stock quantity" refers to the number of units you have available for the variant. You can mark any text element to show up the stock quantity by just using the attribute:
variantstockOption Names and Values
In Shopify, "variant options" are the attributes that define the different variations of a product. They're the choices a customer makes to select the specific version of a product they want to purchase. Shopify automatically generates all possible combinations of the option values, creating the individual variants that will have a separate pricing and inventory.
Shopify allows up to 3 option sets.
If you need to show up selected option names and values, outside of the add to cart variant selectors, you can use on any text element respectively the attributes
variantoption1-namevariantoption2-namevariantoption3-nameand
variantoption1-valuevariantoption2-valuevariantoption3-valuethat will render the selected option names and values of each option set (if available in the variant).
Option Swatches
In Shopify, "variant options" are the attributes that define the different variations of a product. They're the choices a customer makes to select the specific version of a product they want to purchase. Shopify automatically generates all possible combinations of the option values, creating the individual variants that will have a separate pricing and inventory.
Shopify allows up to 3 option sets. For each option value Shopify allows you to associate a Swatch.
To define an element that will show up if the Swatch associated to the option do exists you have to use respectively:
variantswatch1variantswatch2variantswatch3Inside those elements you can use 4 different attributes:
Name
On any text element you can use the custom attribute
swatchnameto render the option name
Image
On any image/div element you can use the custom attribute
swatchimageto render the swatch associated image
Color
On any element you can use the custom attribute
swatchcolorto render the swatch associated color as a background color
URL
Any link element can be replaced with the Product Variant URL by just using the attribute:
varianturlInform Smootify about your Product CMS collection slug
To prevent 404 errors, particularly when your Product CMS collection slug is not 'product', accurately specify the slug you used in the Webflow CMS collection within the Smootify script configurations.
The link will just be the link to the product page but that will pre-select the selected variant
Discount Percentage
If your variant has a compare-at price you can show up the discount percentage on any text by using the attribute:
variantdiscount-percentageNot related to Coupons
The discount percentage is not relative to coupons you created in your store! It's only and exclusively relative to the difference between price and compare-at price!
Discounted Amount
If your variant has a compare-at price you can show up the discounted amount on any text by using the attribute:
variantdiscounted-amountNot related to Coupons
The discounted amount is not relative to coupons you created in your store! It's only and exclusively relative to the difference between price and compare-at price!
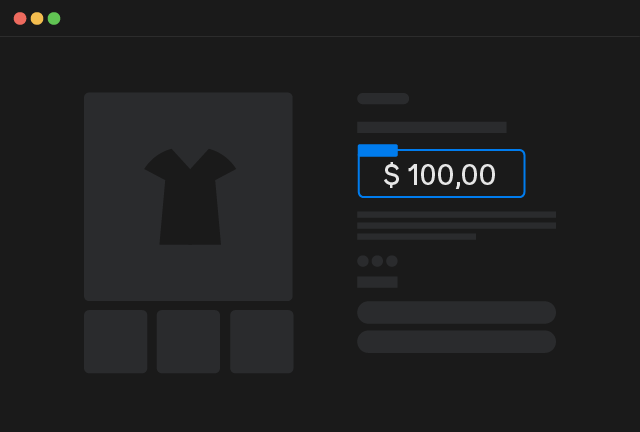
Price
For dynamic pricing that reflects the selected variant and the customer's market, this specific Smootify Custom Element is required.
Price
Copy Element
Element Structure
The price element is just a custom element with tag smootify-price and inside 2 texts with respectively the attributes:
data-proppricedata-propcompareAtPriceIf you remove those 2 attributes or change the tag name the price will not be correctly rendered.
Compare at Price is hidden by default in all EEA countries
By default to comply with European Laws the compare at price is hidden by Shopify settings for all customers that do visit your site from a country within the European Economic Area (EEA).
You can change this setting from your Shopify Dashboard, Settings > Markets > Preferences > Pricing - Compare-at-price hiding.
Price format
The pricing format is decided by your Shopify settings in particular by the option called "HTML without currency". The currency format is heavily cached so don't worry if you don't see the changes immediately, try in incognito or wait few minutes.
Element Options
If by any change you need to remove part of the formatted price, you can use the custom attribute:
data-removepart to removeFor example
data-remove.00If by any change you need to replace part of the formatted price with a different one, you can use the custom attribute:
data-replacepart to replace|replacementFor example
data-replace.00|.-Product Elements
Below you can find also a list of Product related attributes you can use, they will refer to the product of the variant showed in the card
Title
The "product title" is simply the name you give to your product, you can render it on any text element by just adding the attribute
producttitle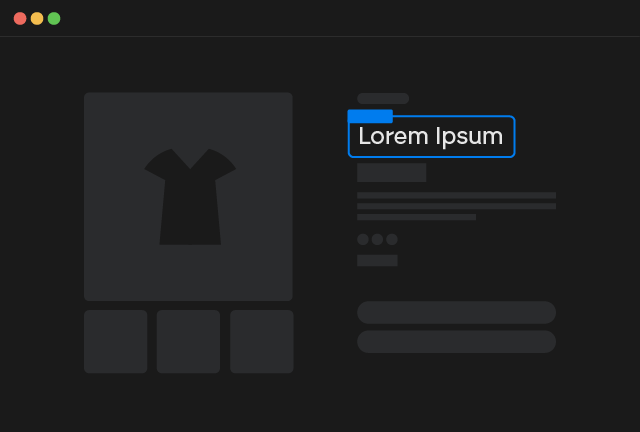
Product Title
Copy Element
Description
The product description allows you to convey essential details about your product, such as its features, materials, dimensions, and usage instructions. You can render it inside any Rich Text Element by just adding the attribute
productdescription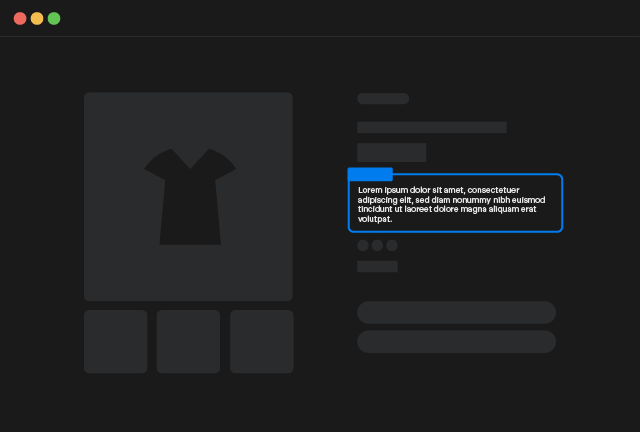
Product Description
Copy Element
Specific Image
Sometimes it's pretty usefull to load a specific selected image of your Product Media field. Think for example if you want to create an interaction that at hover shows the second image instead of the featured one. For this purpose you can use the attribute:
productspecific-imageon Images or on Div elements (as background)
By default the image that will be rendered is the second one. You can modify this behaviour by adding an additional attribute:
indexindex of the imageBy default in all programming languages, arrays of elements are 0-indexed. That means that if you use
index2you will select the 3rd image of the Product Media field
First Collection
If you want to create a text/link element associated with the First Collection of your product without using Nested Collection Lists or when you are using Product Custom Elements directly rendered with Shopify data, you can use the attribute
productfirst-collectionSince the order of the collections is not modifiable in Shopify, you could have in the first collection something you would want to avoid. You can do that by adding also the attribute:
excludeCollection title to excludeInform Smootify about your Collection CMS collection slug
To prevent 404 errors, particularly when your Collection CMS collection slug is not 'collection', accurately specify the slug you used in the Webflow CMS collection within the Smootify script configurations.
Vendor
In Shopify, the "vendor" field designates the manufacturer, supplier, or brand of a product. It's a way to track and display the source of your products.
You can render the vendor on any text/link element by using the attribute:
productvendorInform Smootify about your Vendor CMS collection slug
To prevent 404 errors, particularly when your Vendor CMS collection slug is not 'vendor', accurately specify the slug you used in the Webflow CMS collection within the Smootify script configurations.
Dynamic CDN Compression
For all elements that render images (like Variant Image, Specific Image, Images, etc...) you can leverage the Shopify CDN to dynamically compress and optimize the images.
You can control the CDN by using 4 different properties that you can combine in different ways:
- Only Width
- Only Height
- Width & Height + Crop
- Width & Height + Padding Color
Width
The desired width of your image, automatically Shopify will resize down the image to stay at your desired width, values can go from 0 to a max of 5700. You can indicate that by using the attribute:
max-widthWidth in pixelFor example to get an image that get's resized down to 640px width you have just to add the following attribute:
max-width640the name of the attribute is max-width because width is a reserved name and you can't use it in Webflow.
Height
The desired height of your image, automatically Shopify will resize down the image to stay at your desired height, values can go from 0 to a max of 5700. You can indicate that by using the attribute:
max-heightHeight in pixelFor example to get an image that get's resized down to 640px height you have just to add the following attribute:
max-height640the name of the attribute is max-height because height is a reserved name and you can't use it in Webflow.
Crop
If you've set both Height and Width values, and your image's original dimensions are larger, you have the option to set a crop preference. This preference dictates the starting point for image cropping within Shopify.
cropcrop preferencePadding Color
If you've set both Height and Width values, and your image's original dimensions are smaller, you have the option to set a padding color. This preference dictates the color that Shopify will use to fill the image and achieve your desired dimensions.
padding-color#hexcodeYou can only use Hex code colors
e.g: if you want to pad the image with our cool color just use the attribute:
padding-color#ff6d2fNot for Webflow CMS images
Note that this feature is exclusive for images loaded directly from Shopify and will not work on elements you connected to Webflow CMS instead.