Store Locator
Use Mapbox maps to display store locations.
Overview
Our Store Locator add-on will help you show all your physical stores, dealers, distributors, and more on a single page on your Shopify website. Use Mapbox maps to display store locations/dealer locations with exact addresses to make the shopping process as easy as it can be.

Component
To start, copy the element below inside your Webflow project.
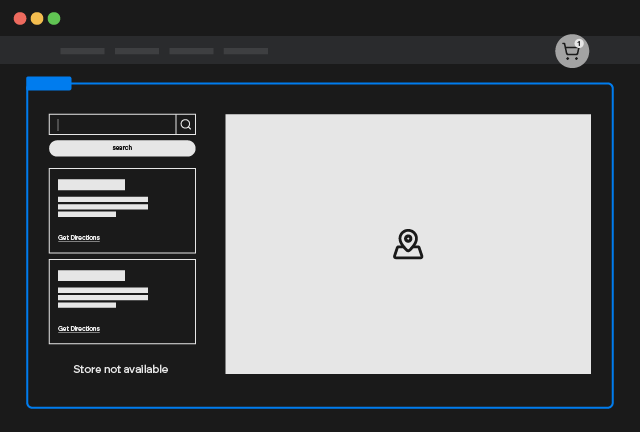
Store Locator
Copy Element
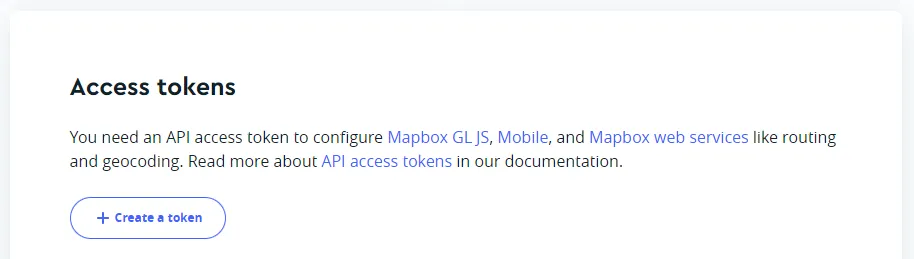
Create a Mapbox Token
Once you’ve created your Mapbox account, click on Create a Token
Add the name you want and leave the Public Scopes as default
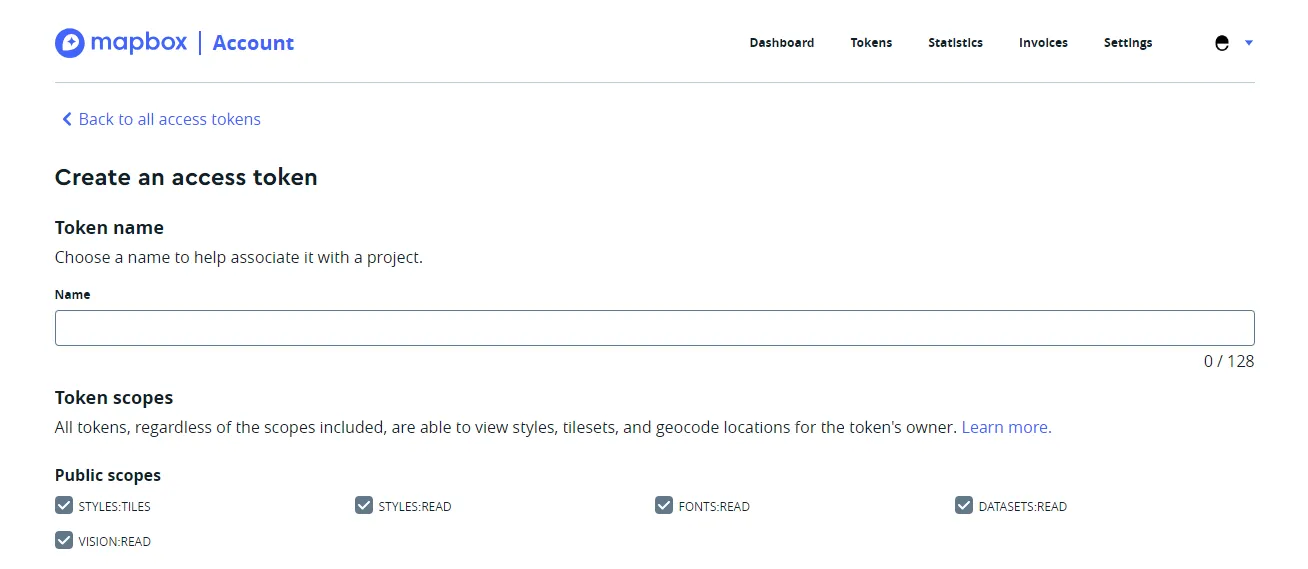
Then add the URL of your project like the samples below and click on Create a Token
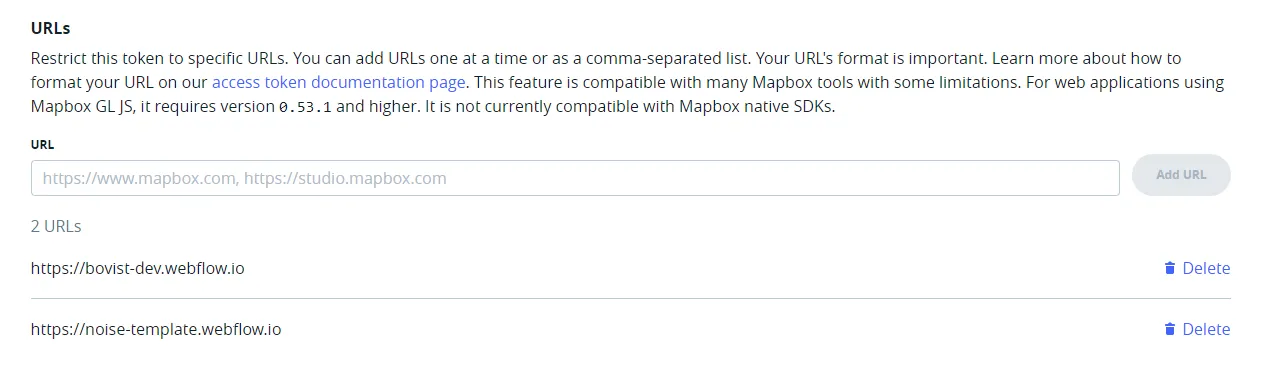
Once done you can Copy the token.

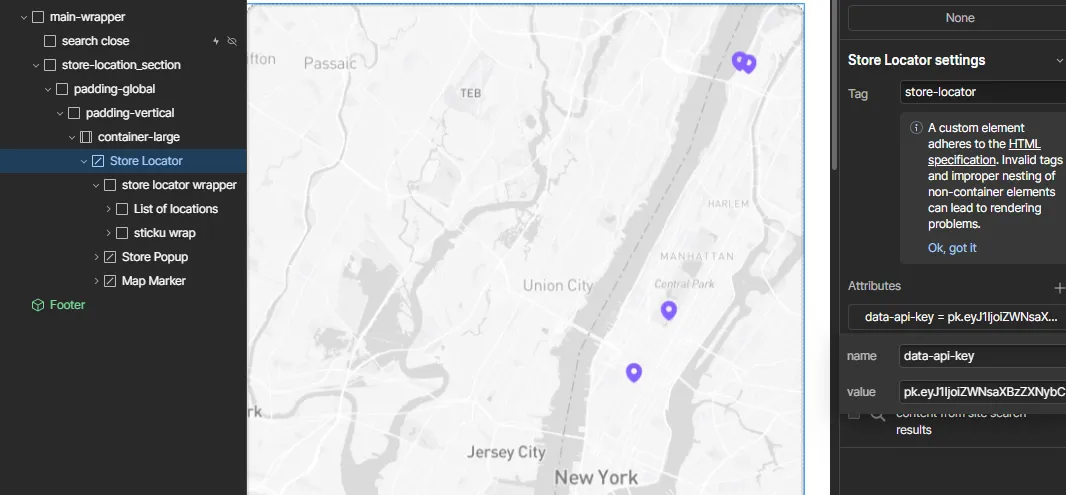
Select the Store Locator custom element (from the component used in the first step) into the Webflow navigator and paste the token into the data-api-key value.
How to add Locations
To add your stores locations, go to Shopify Settings and click on Locations. Then you need to add your locations clicking on the Add location button.
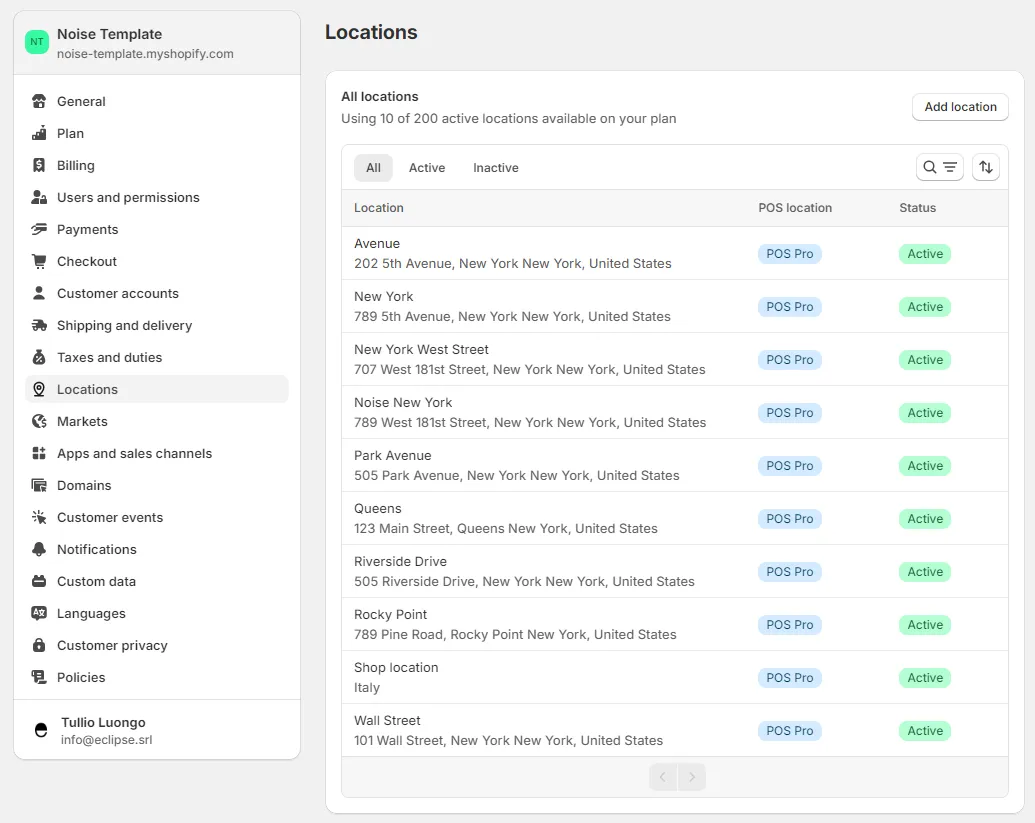
Don’t forget to select the pick-up in store from the Shipping and delivery menu.

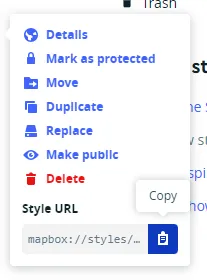
How to customize the map style
To create your own map style, go to Mapbox Studio and click on New Style button.
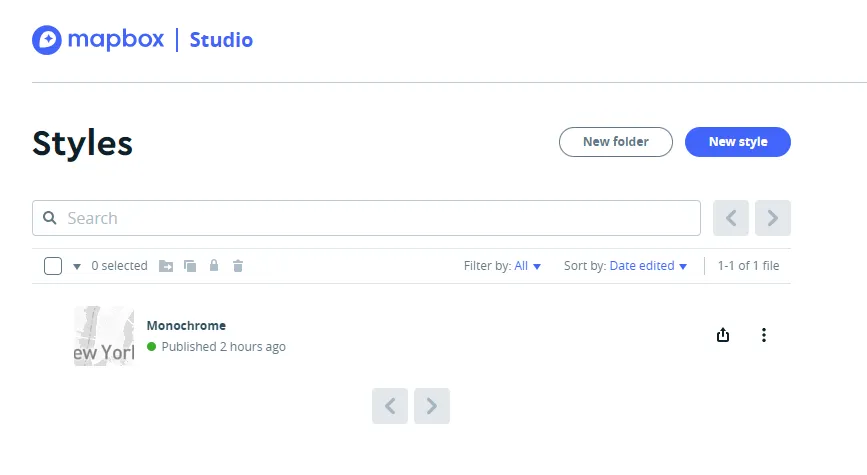
Once done, copy the Style URL.