Headless App
Generate a Live Storefront token
To expedite your initial setup, the Smootify Shopify App automatically generates a development storefront token upon installation. This allows you to quickly preview and begin building your Webflow-powered Shopify store without further configuration.
Important: Transitioning to Live Mode
While the automatically generated token facilitates rapid development, it's crucial to understand its limitations. Before launching your store to the public, you MUST generate a new storefront token using the official Shopify Headless sales channel.
Why is this necessary?
-
Order Confirmation Notifications: The development token does not support the transmission of order confirmation notifications. Generating a token through the Shopify Headless sales channel is essential for enabling these crucial customer communications.
-
Sale channel Attribution: The devolpment token doesn't allow to create a Sale channel name. In the case you have a multi-channel store (like Facebook, Instagram, Shop, etc) it's fundamental to be able to discern the sales you will receive from the Webflow site, and that can be done only by creating a token with the Headless App. The name you will use to create the Token will be the Sale channel name you will see in the orders dashboard.
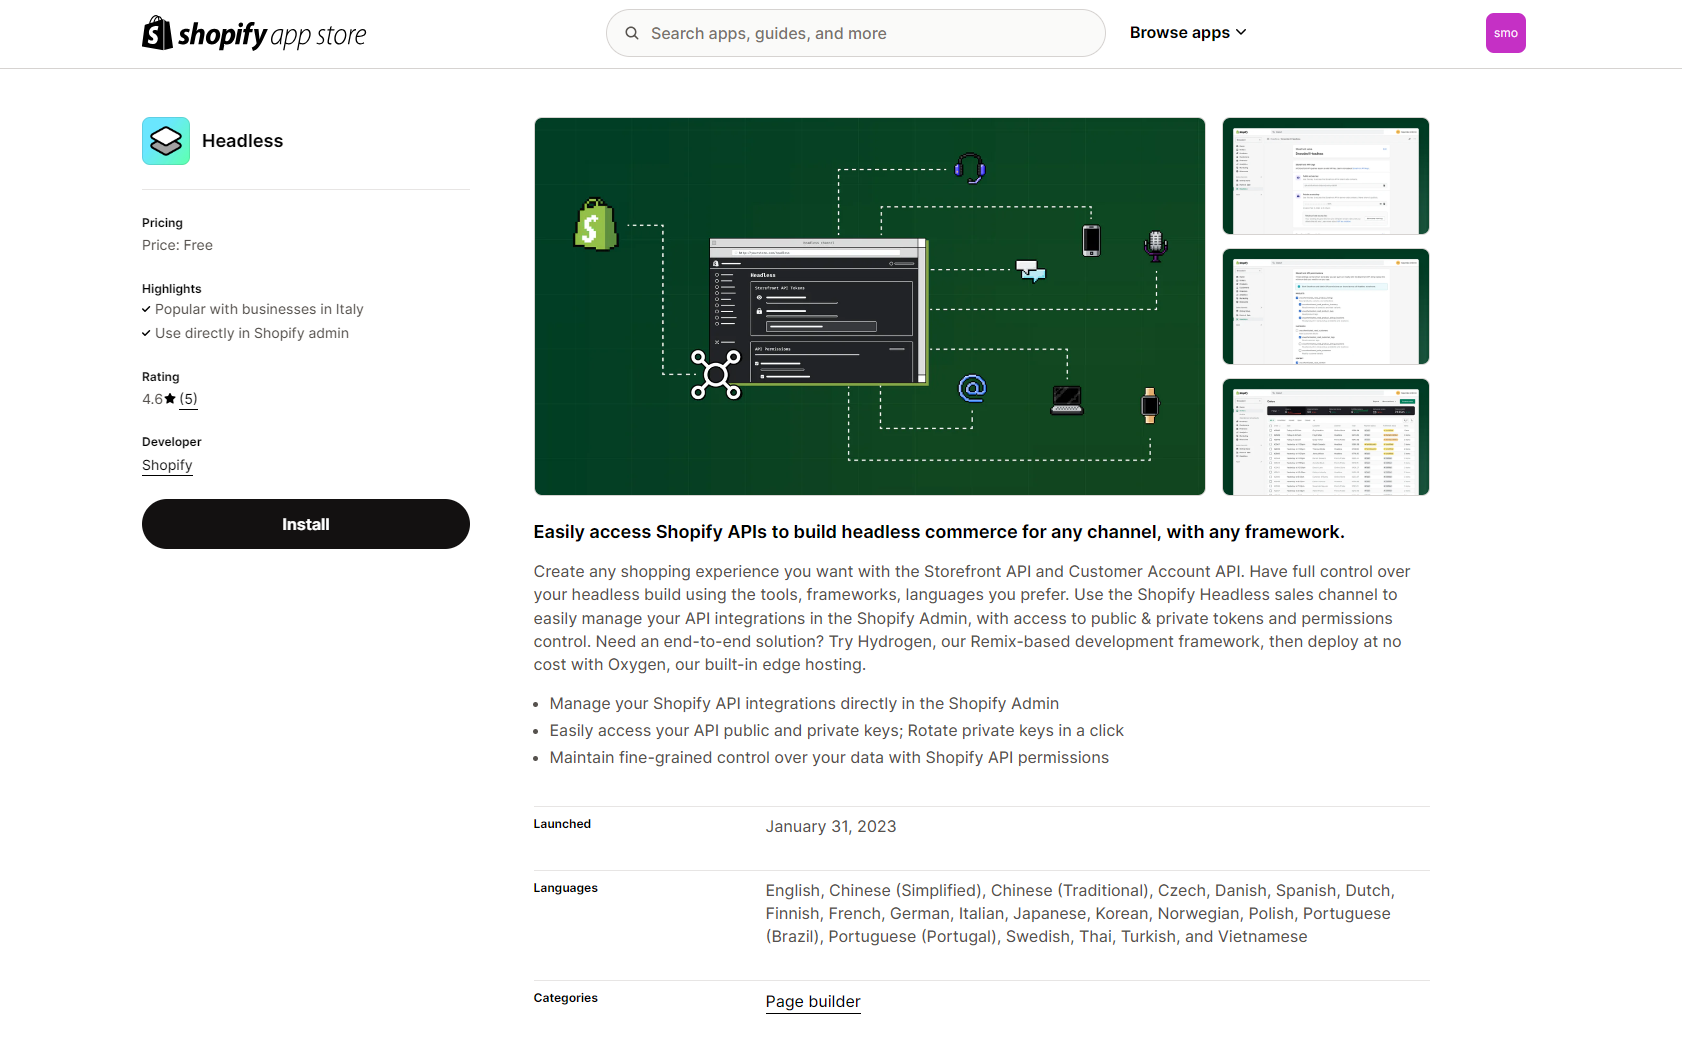
Install the Headless App
- Don't forget to install the Shopify Headless App on the same store to enable order confirmation email, customer accounts and other functionalities.
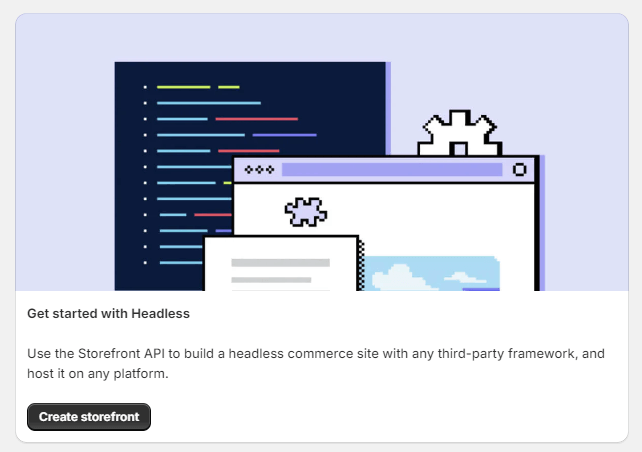
- Once installed, click the Create Storefront button.
- Then click on the Manage Storefront API button.
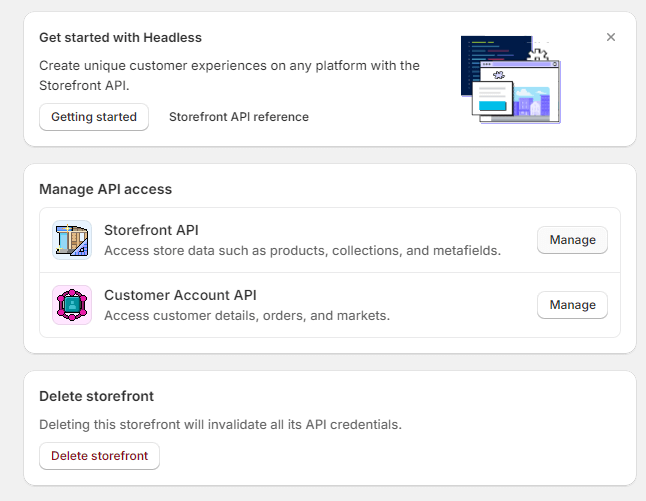
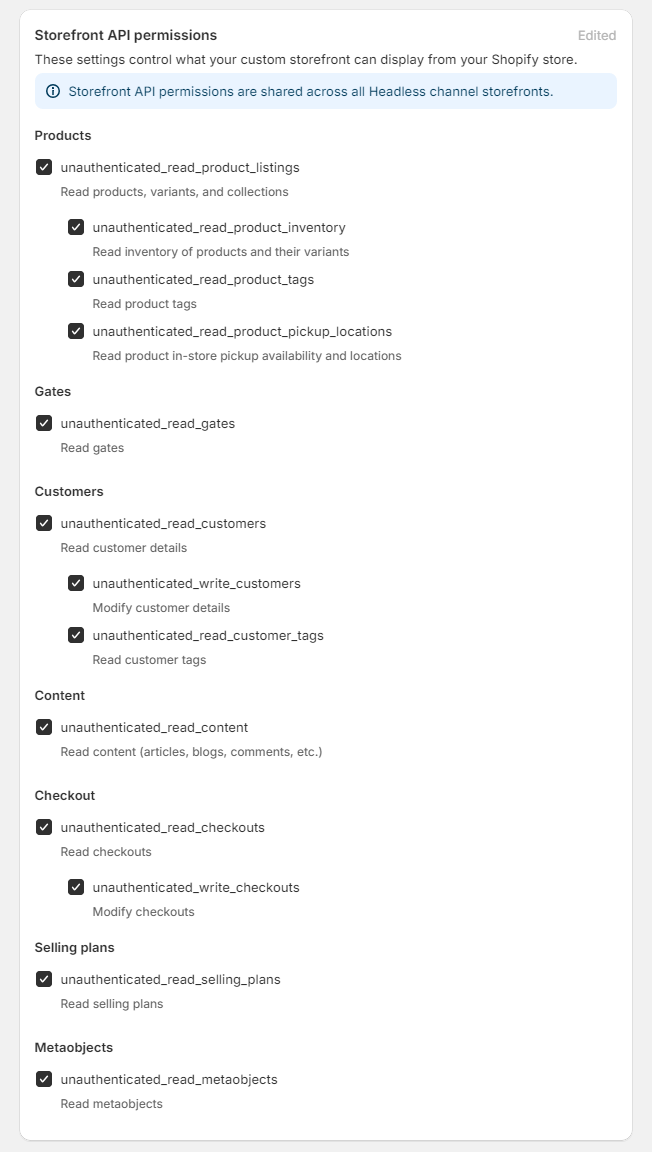
-
Click on edit and enable all the Storefront API permissions. Then click to Save changes.
-
Copy the public token and jump back to the Smootify dashboard.

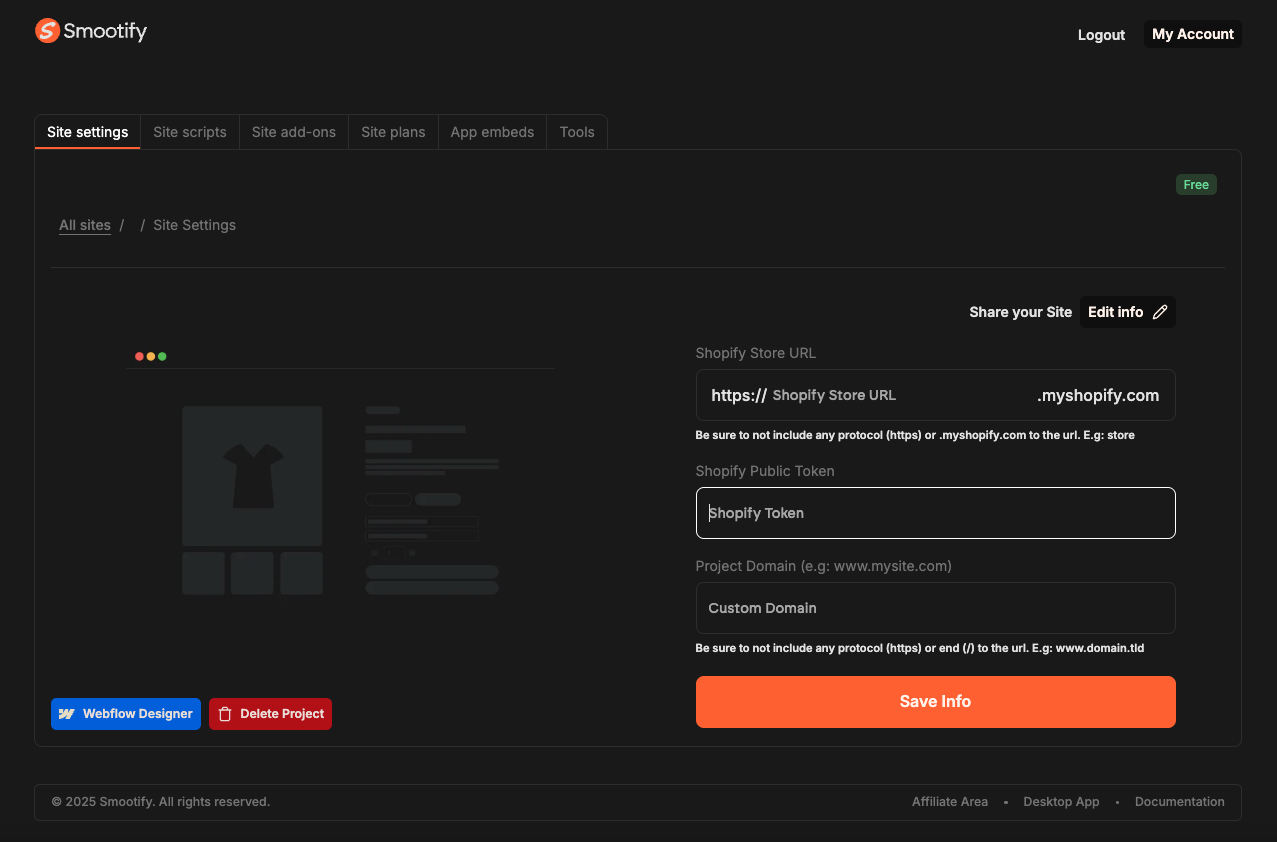
- Go to Site settings into your dashboard and click on Edit Info button. Replace this new token with the existing one and click on Save Info.