Cookie Consent
How to set custom cookie consent banner
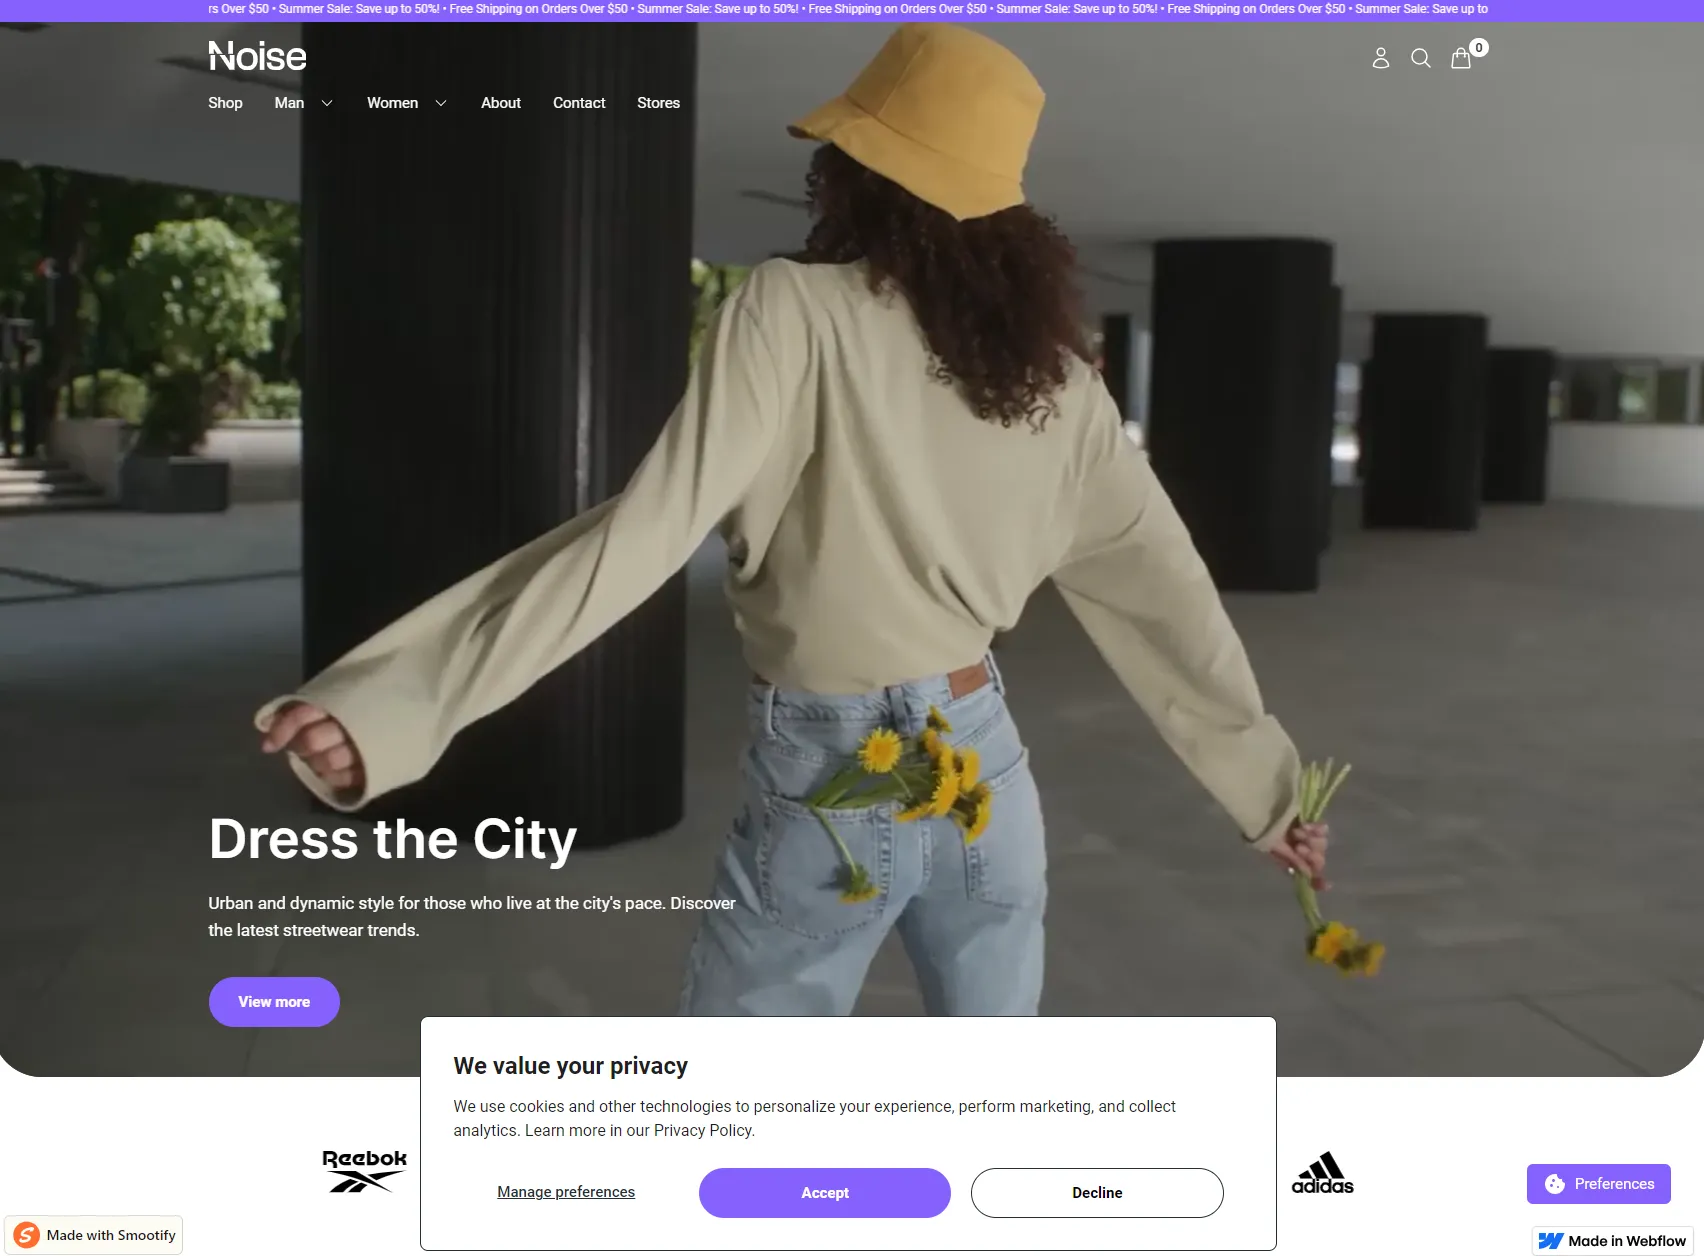
Create a custom cookie consent (that complies with GDPR law) directly in Shopify and customize it in Webflow.
Copy & paste the component
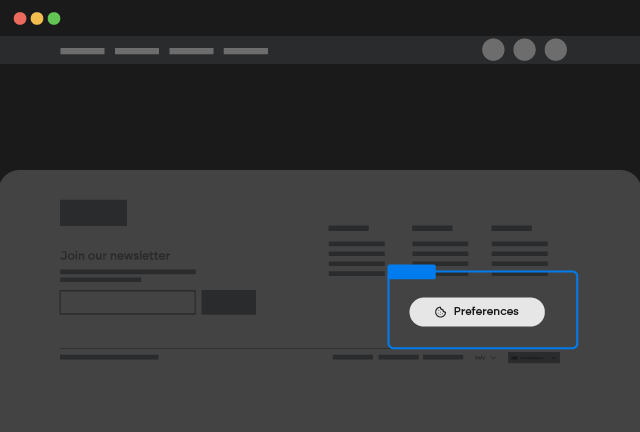
Copy & paste the Manage Preferences button into your Webflow project. You can style the button however you like, with complete creative freedom.
Cookie Consent
Copy Element
Go to Shopify Panel
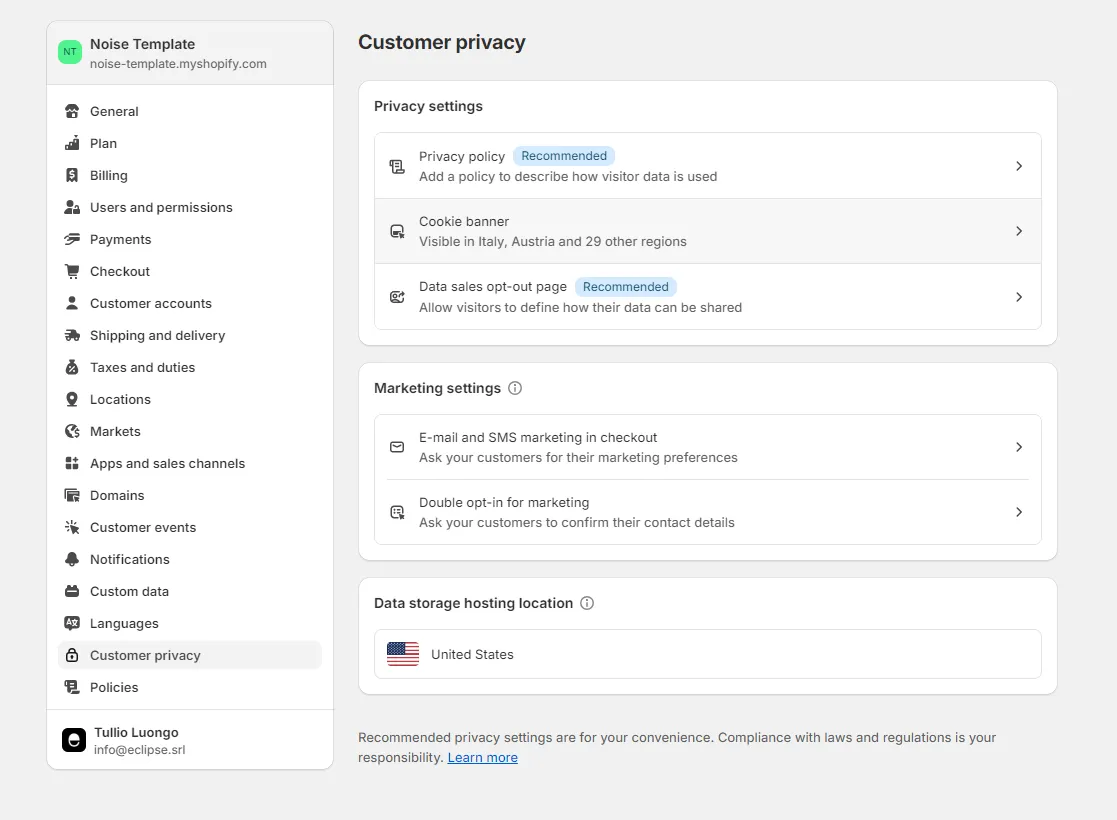
Go to your Shopify Panel > Settings > Customer Privacy and click on Cookie banner.
Activate Cookie
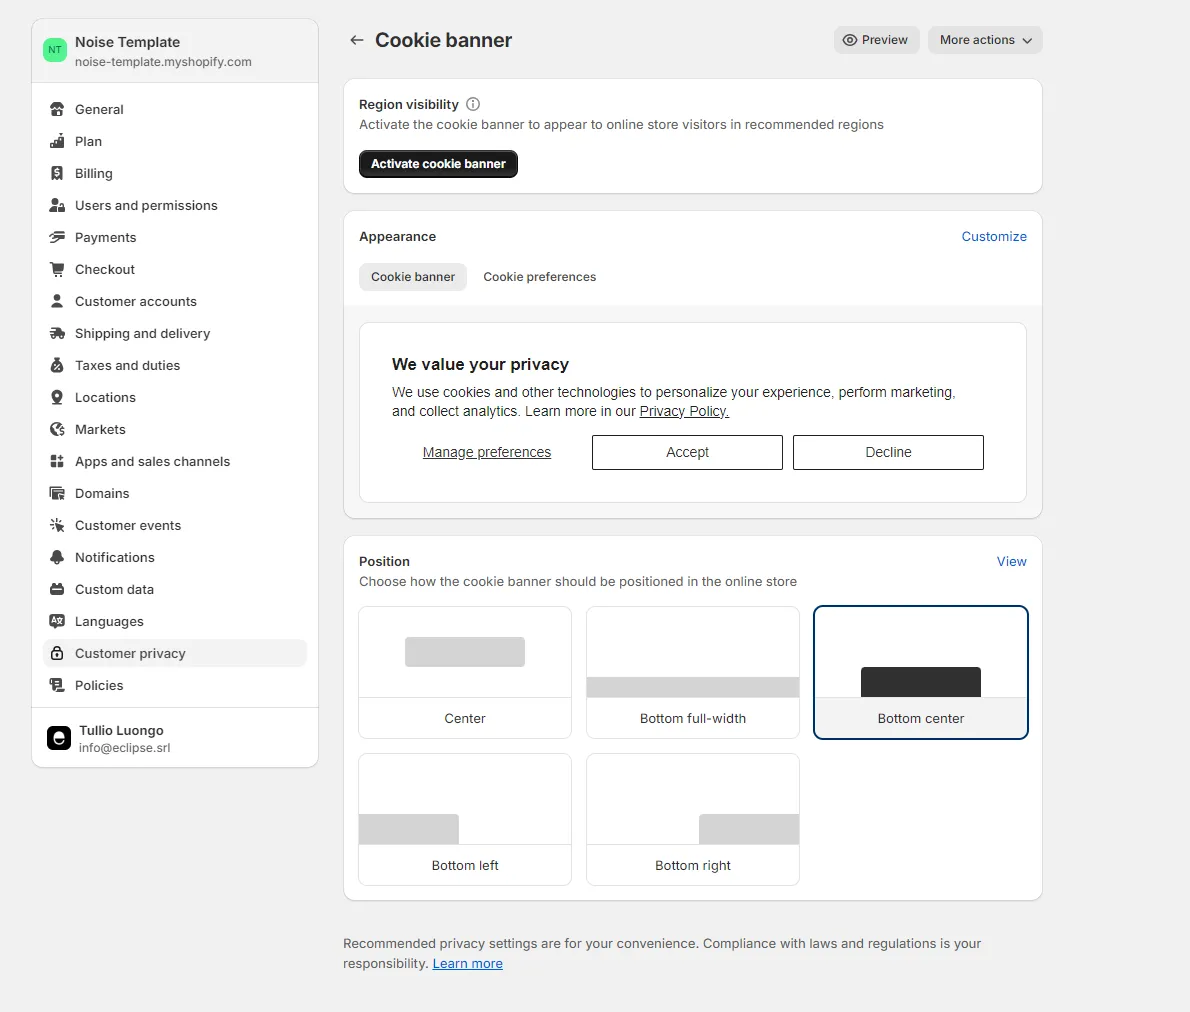
Click on Activate cookie banner button.
Go to Appearance
Then you can go to the Appearance section and click on Customize.
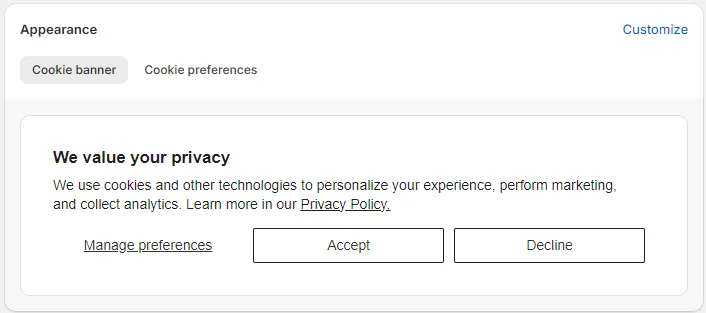
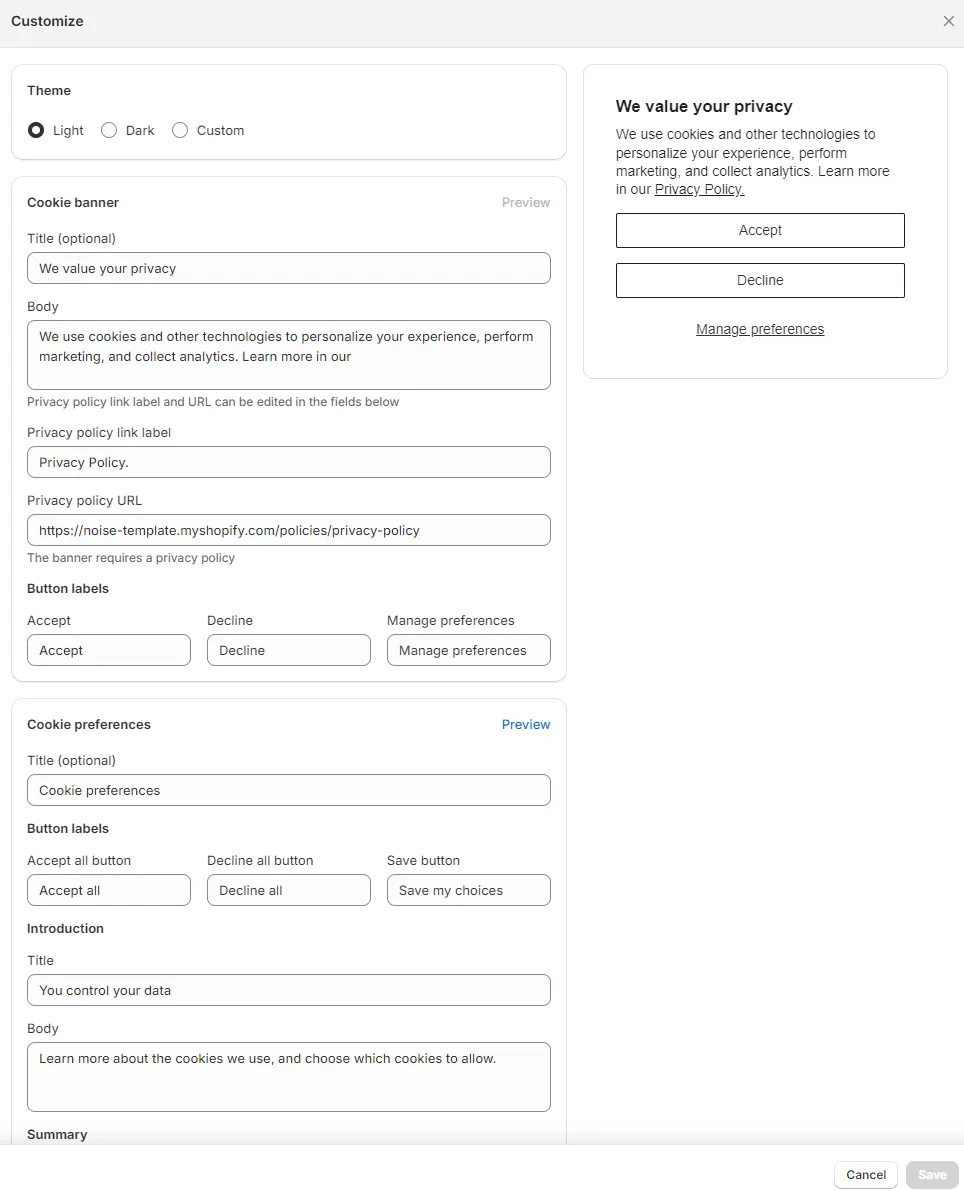
Customize the cookie banner
From the customize menu you can manage any aspect of your cookie consent banner, including text, colors, and layout.
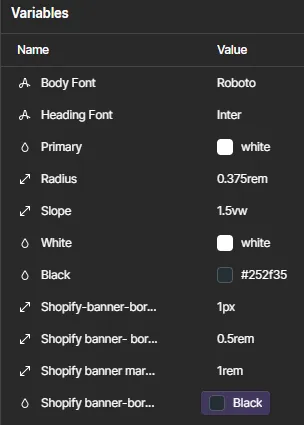
Add CSS Variables
ou can also add 4 CSS Variables in Webflow to customize the banner (use the exact variable names below):
-
Shopify-banner-border
-
Shopify-banner- border-radius
-
Shopify-banner-margin-vertical
-
Shopify-banner-border-color
Custom CSS selectors
Below you can find all selectors Shopify uses for the main elements of the Cookie Banner, use the following snippet as a starting point for custom css customization: